

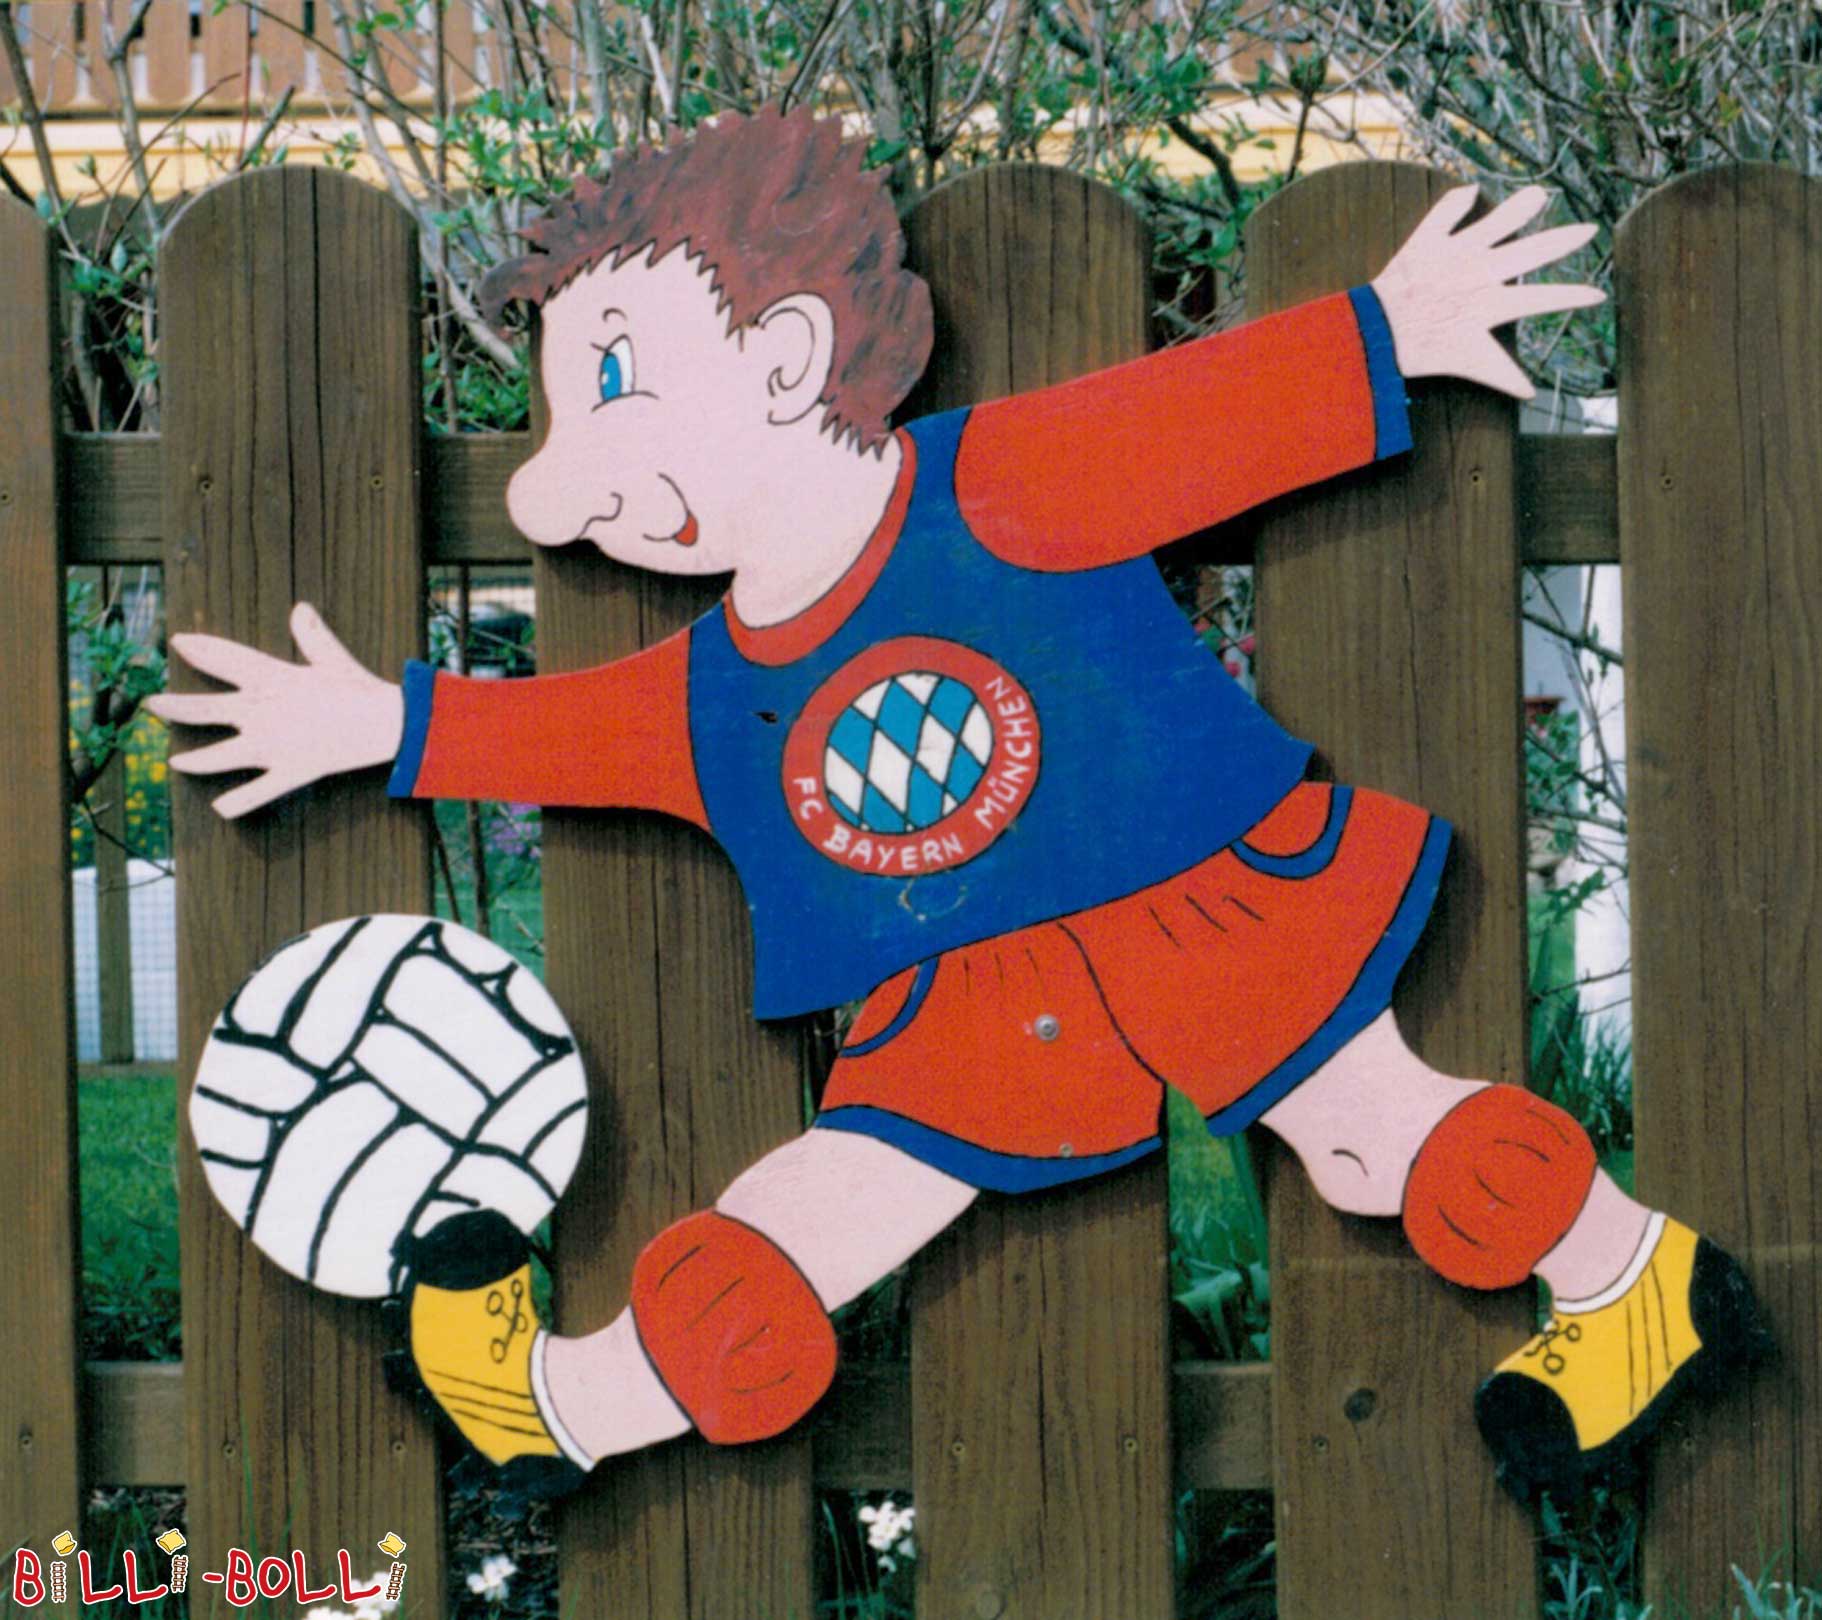
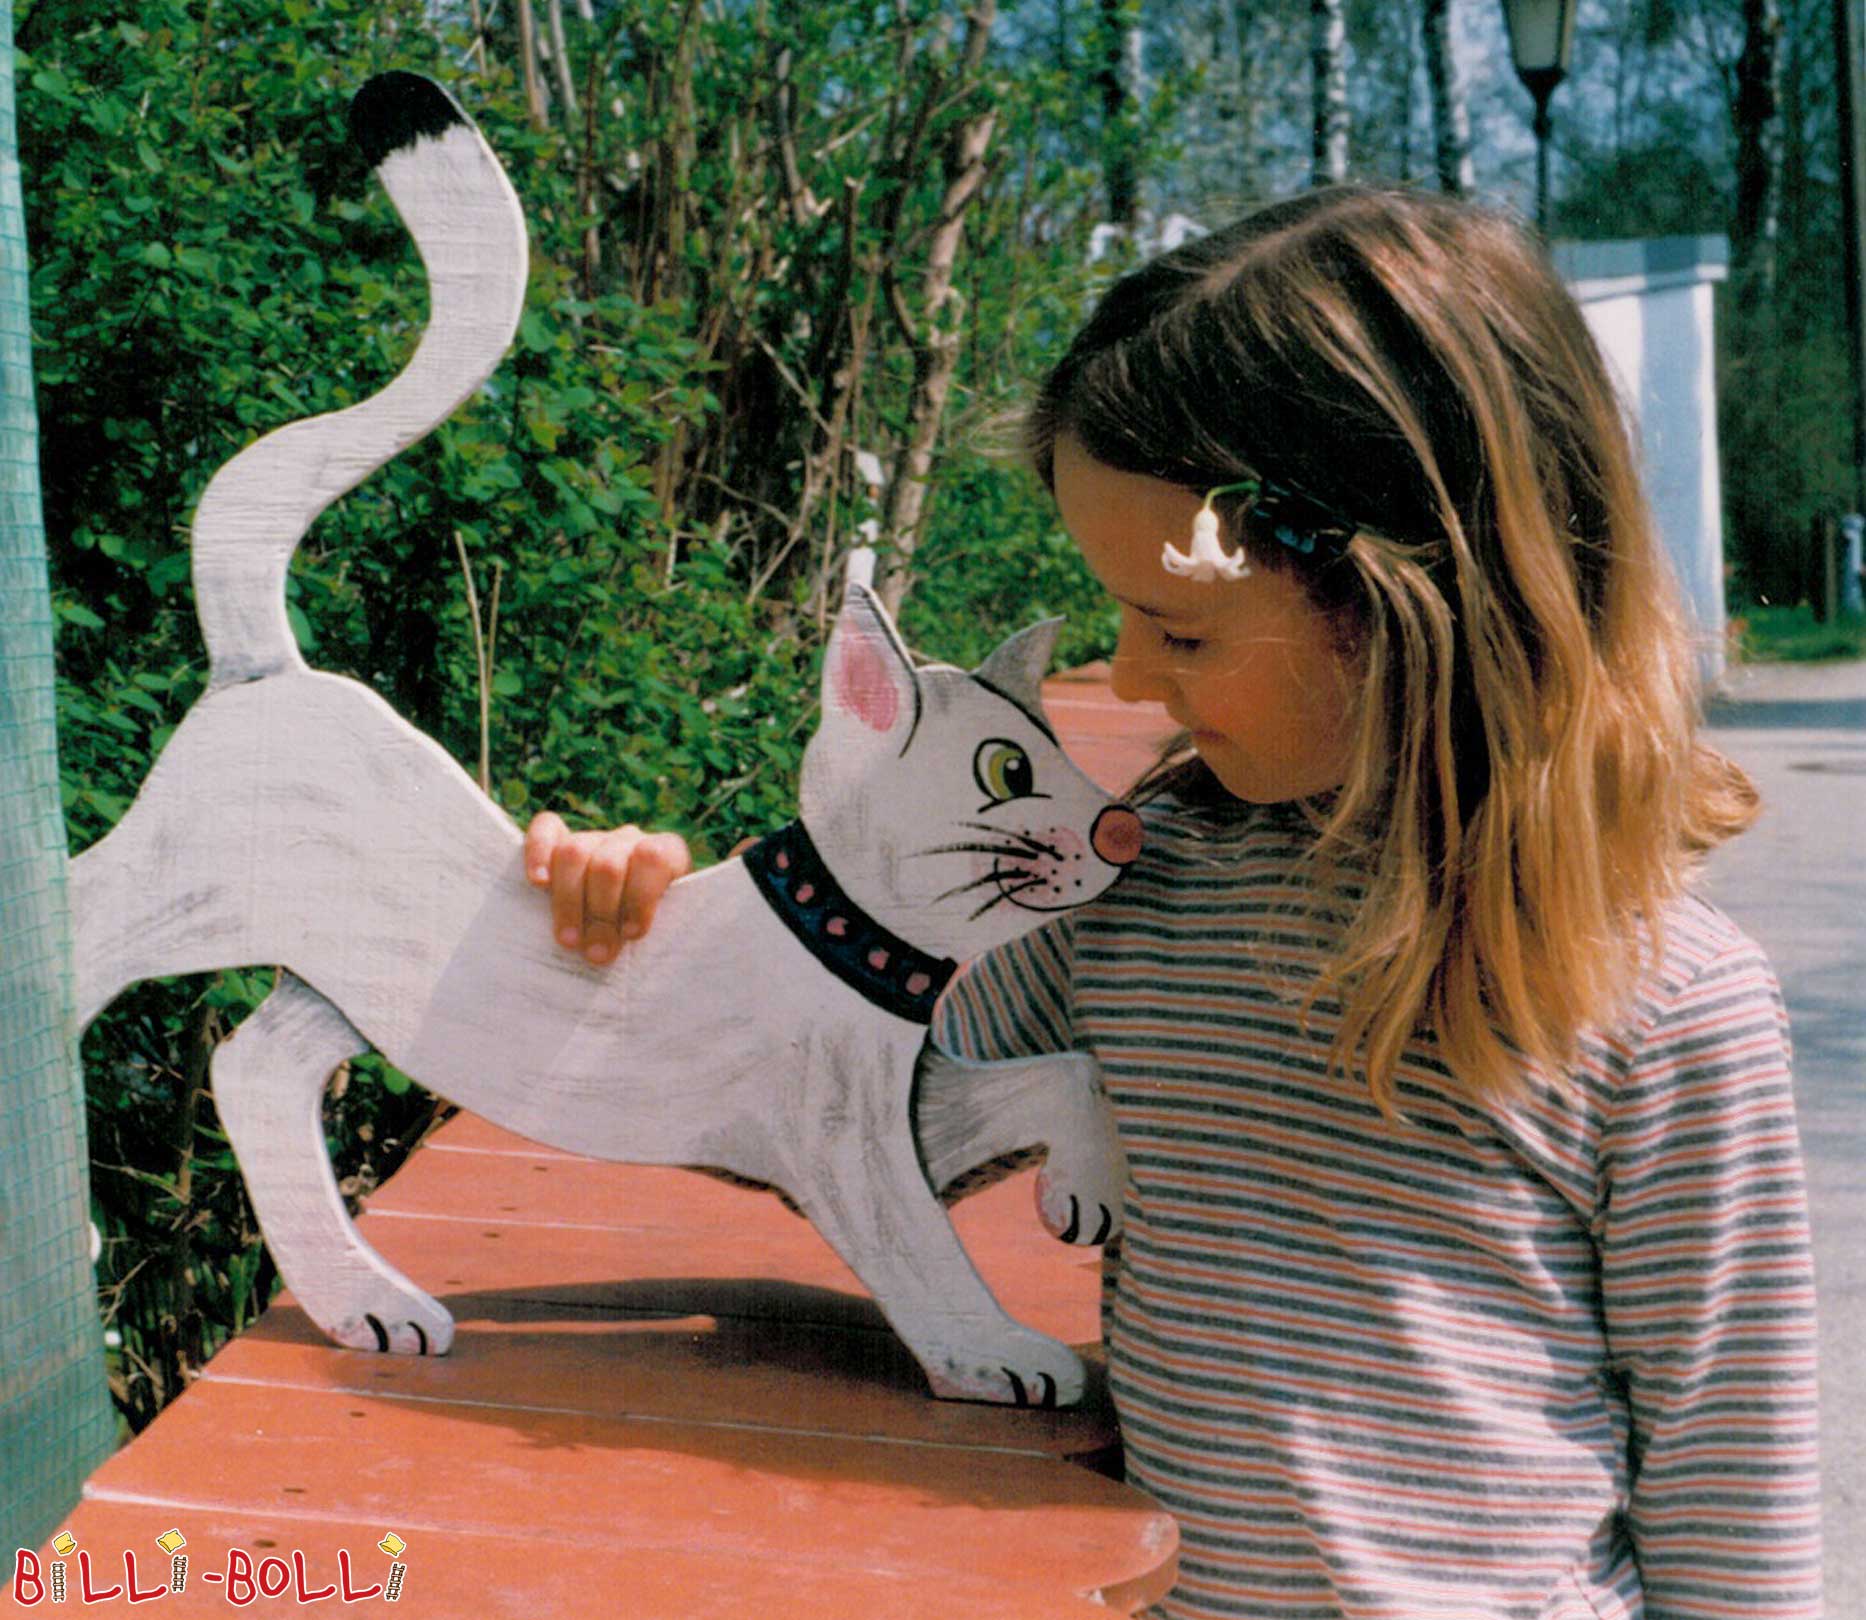
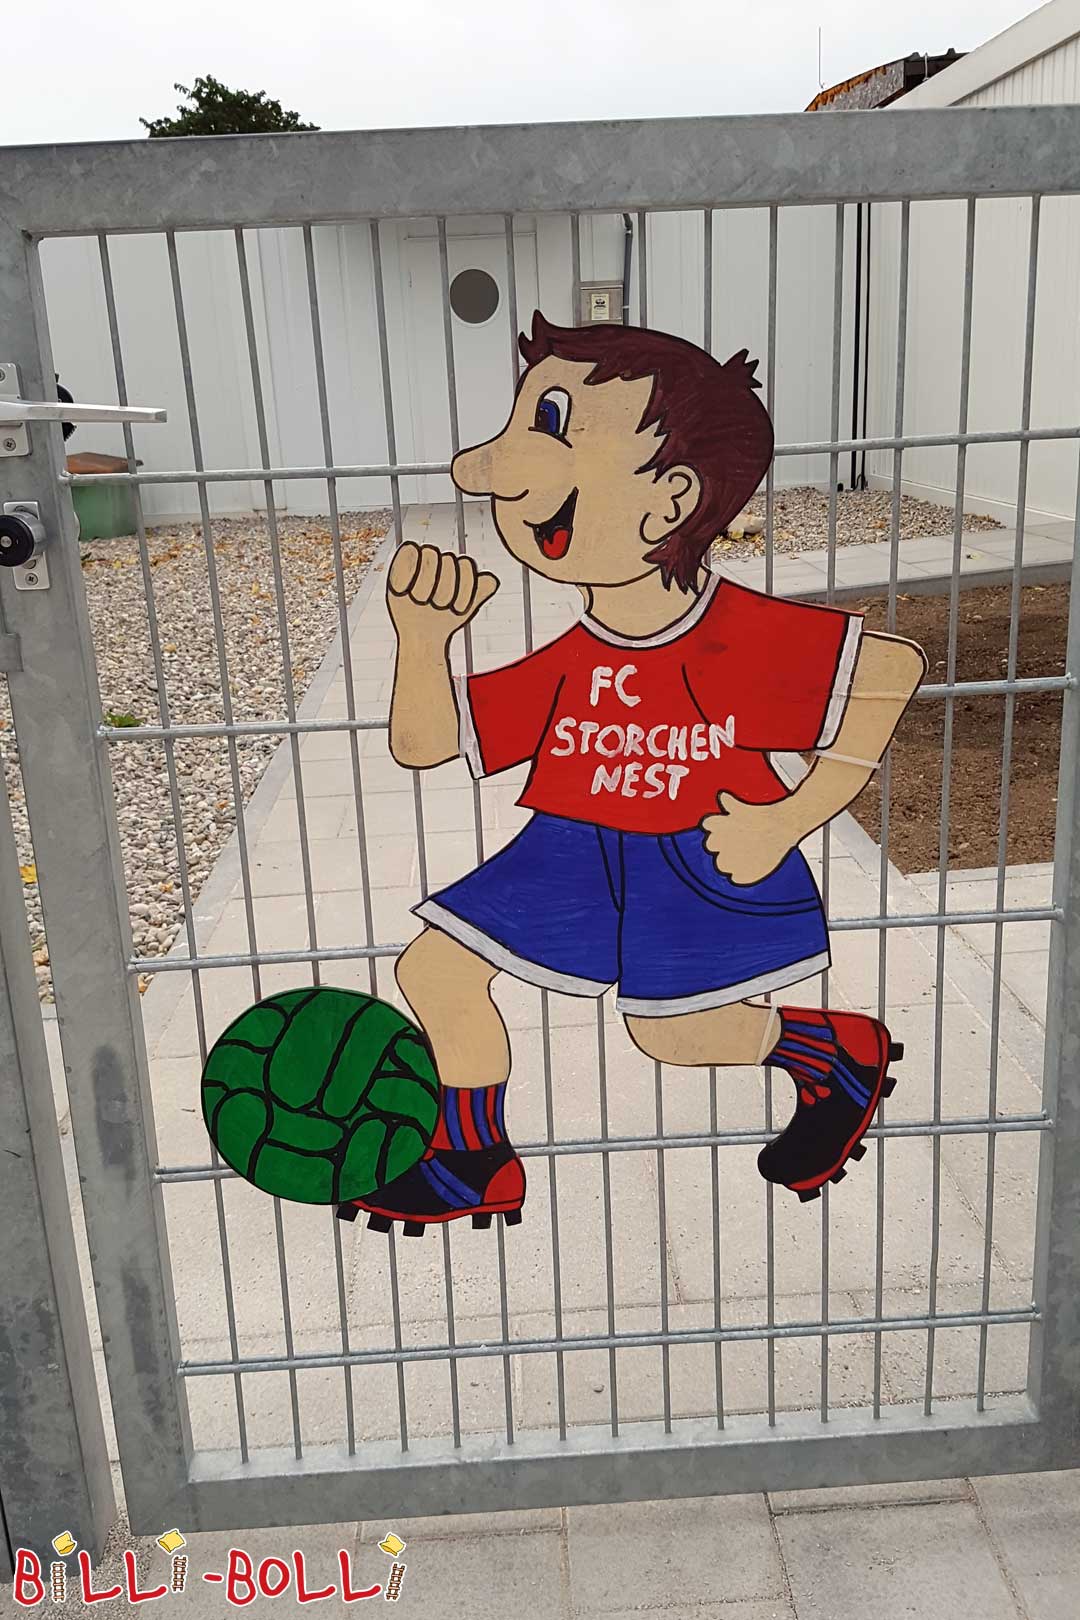
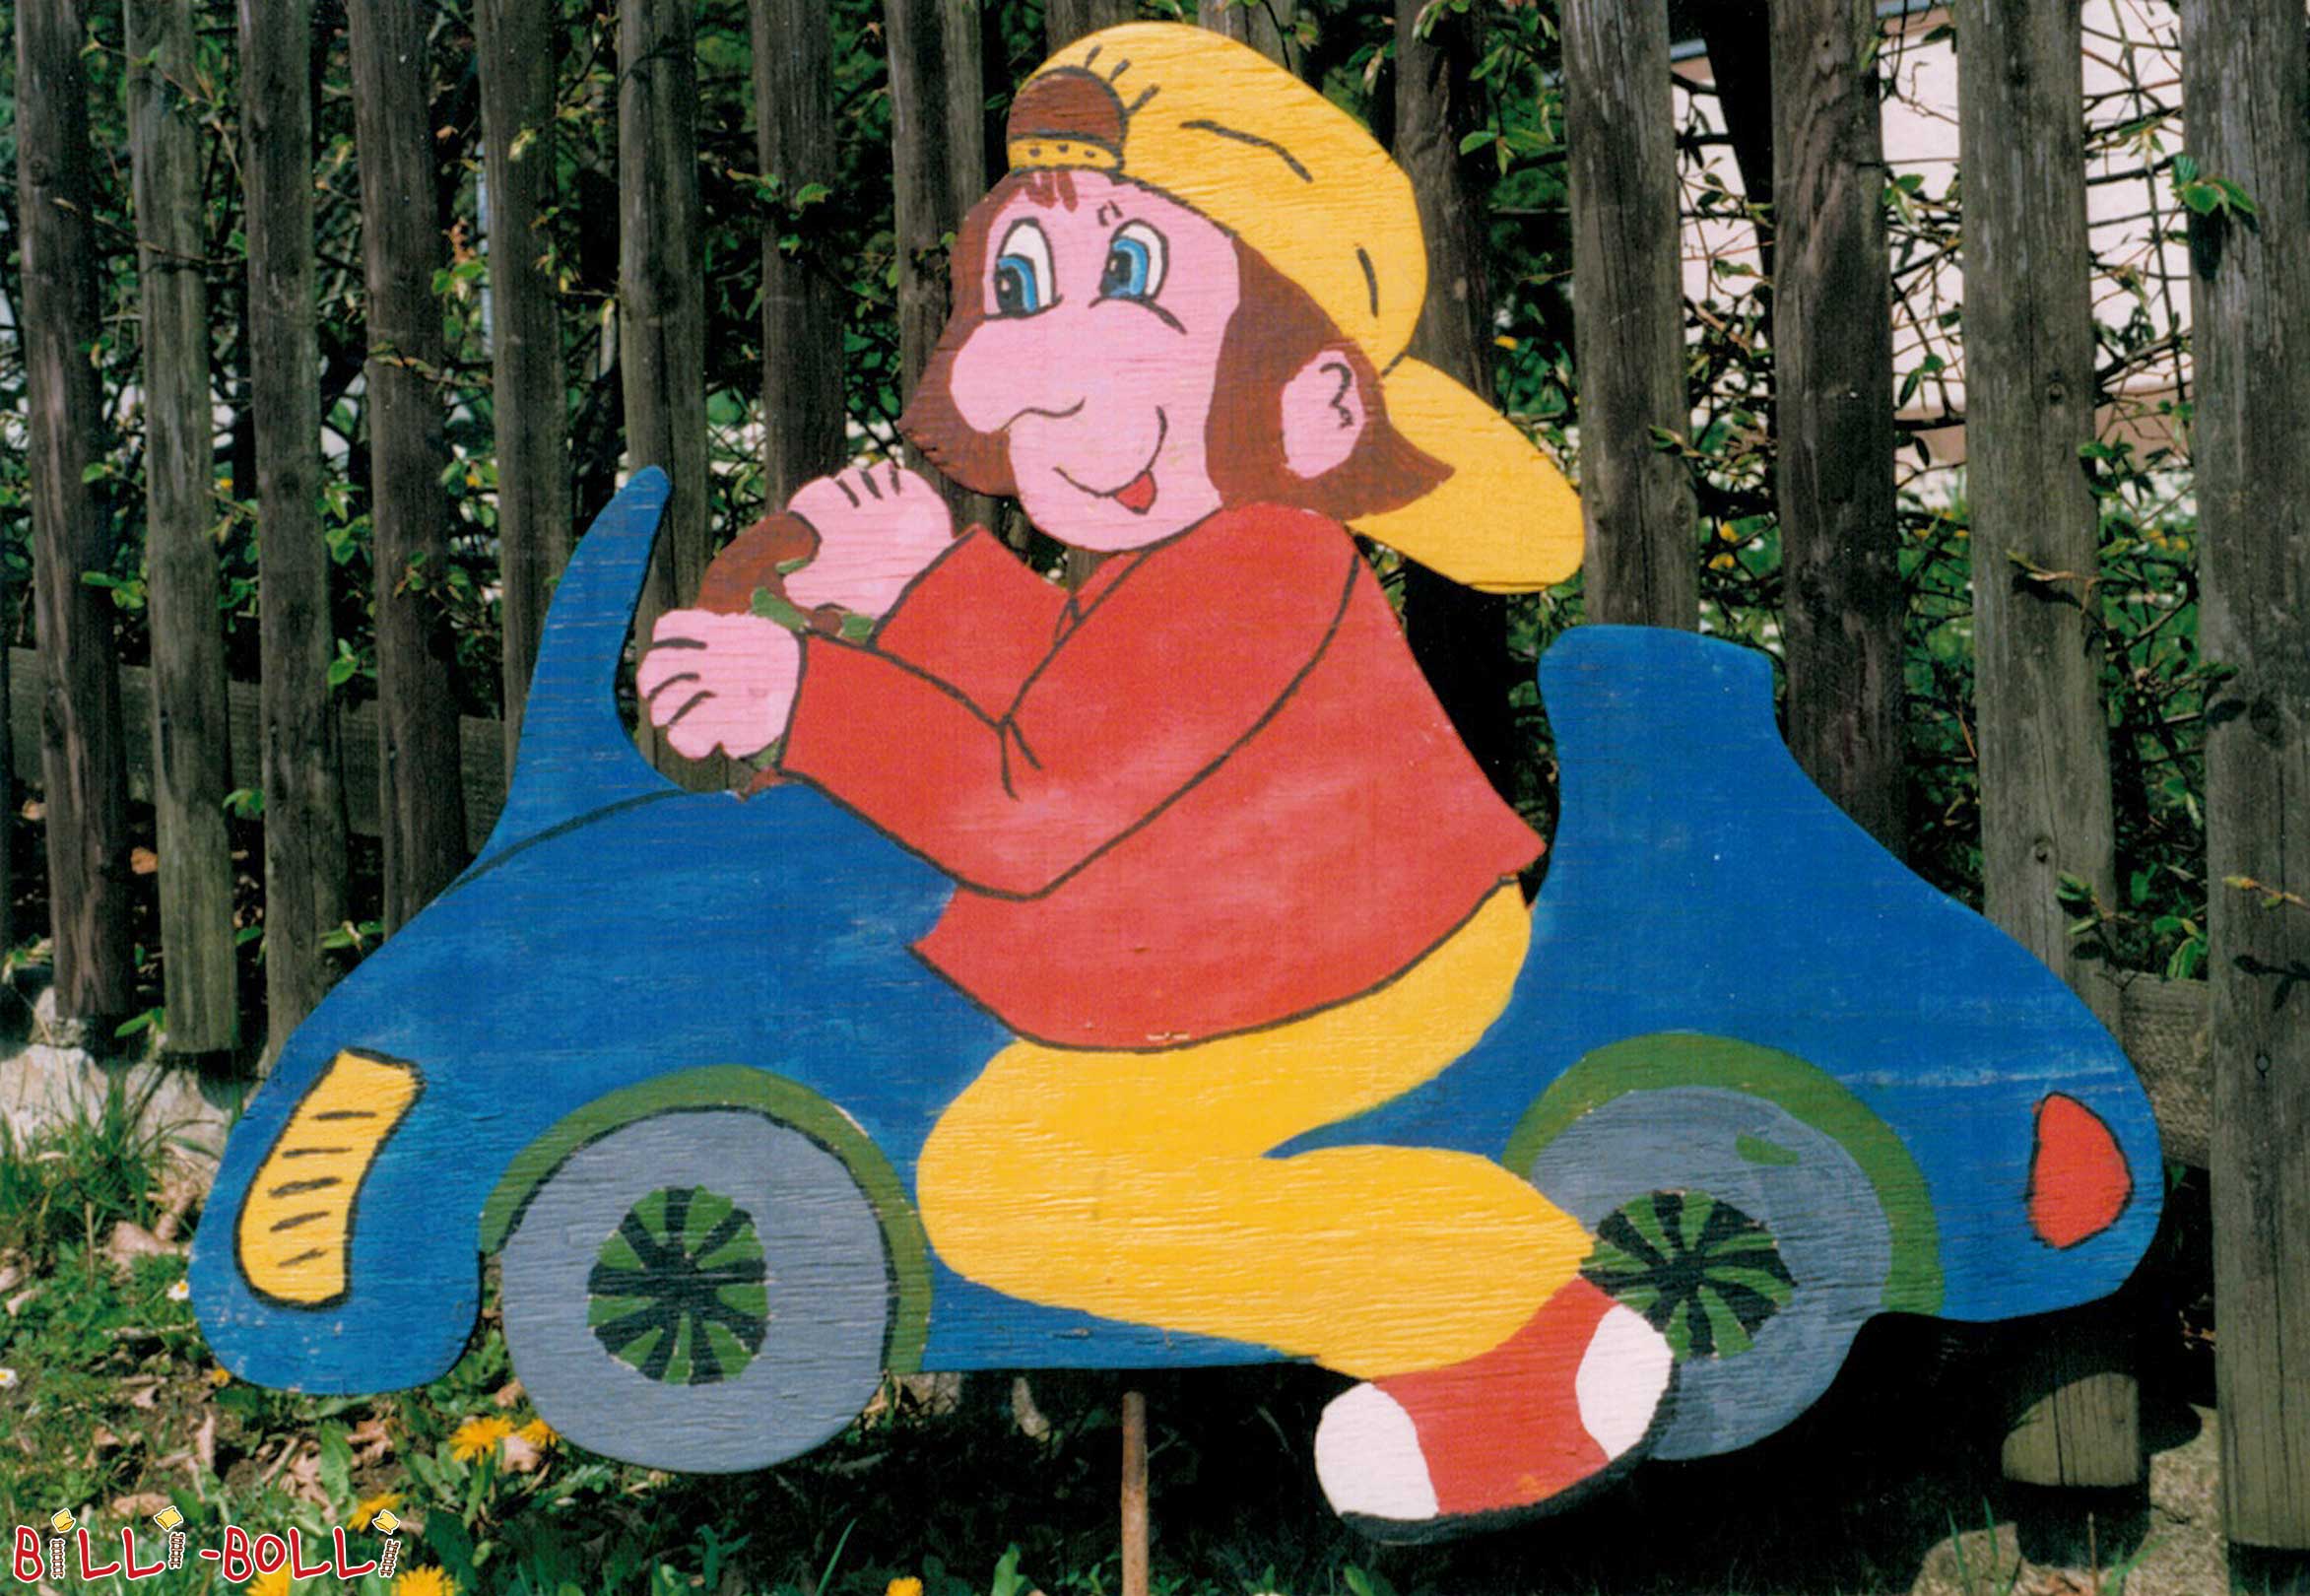
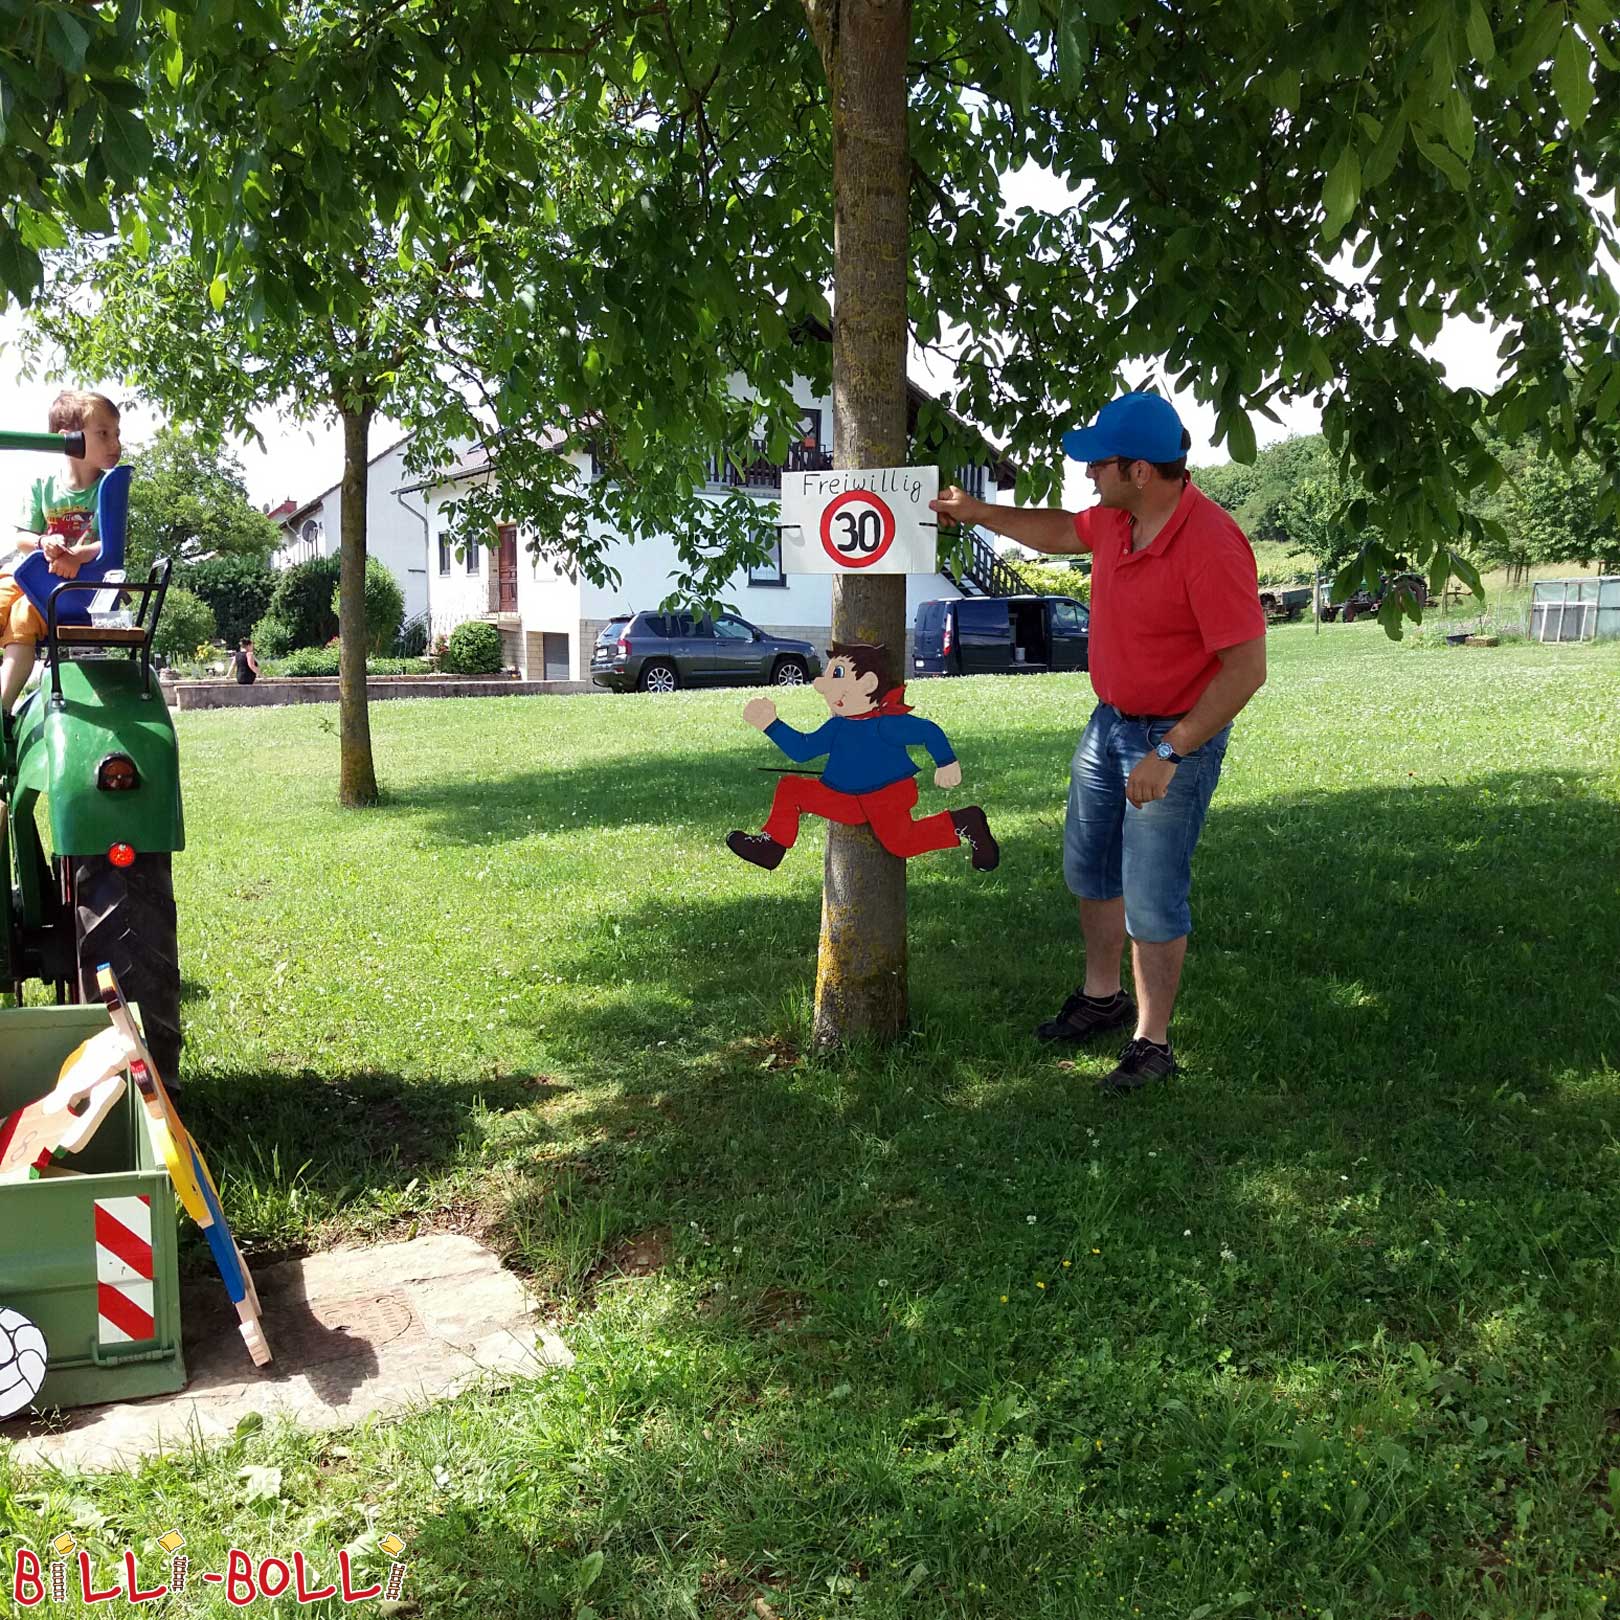
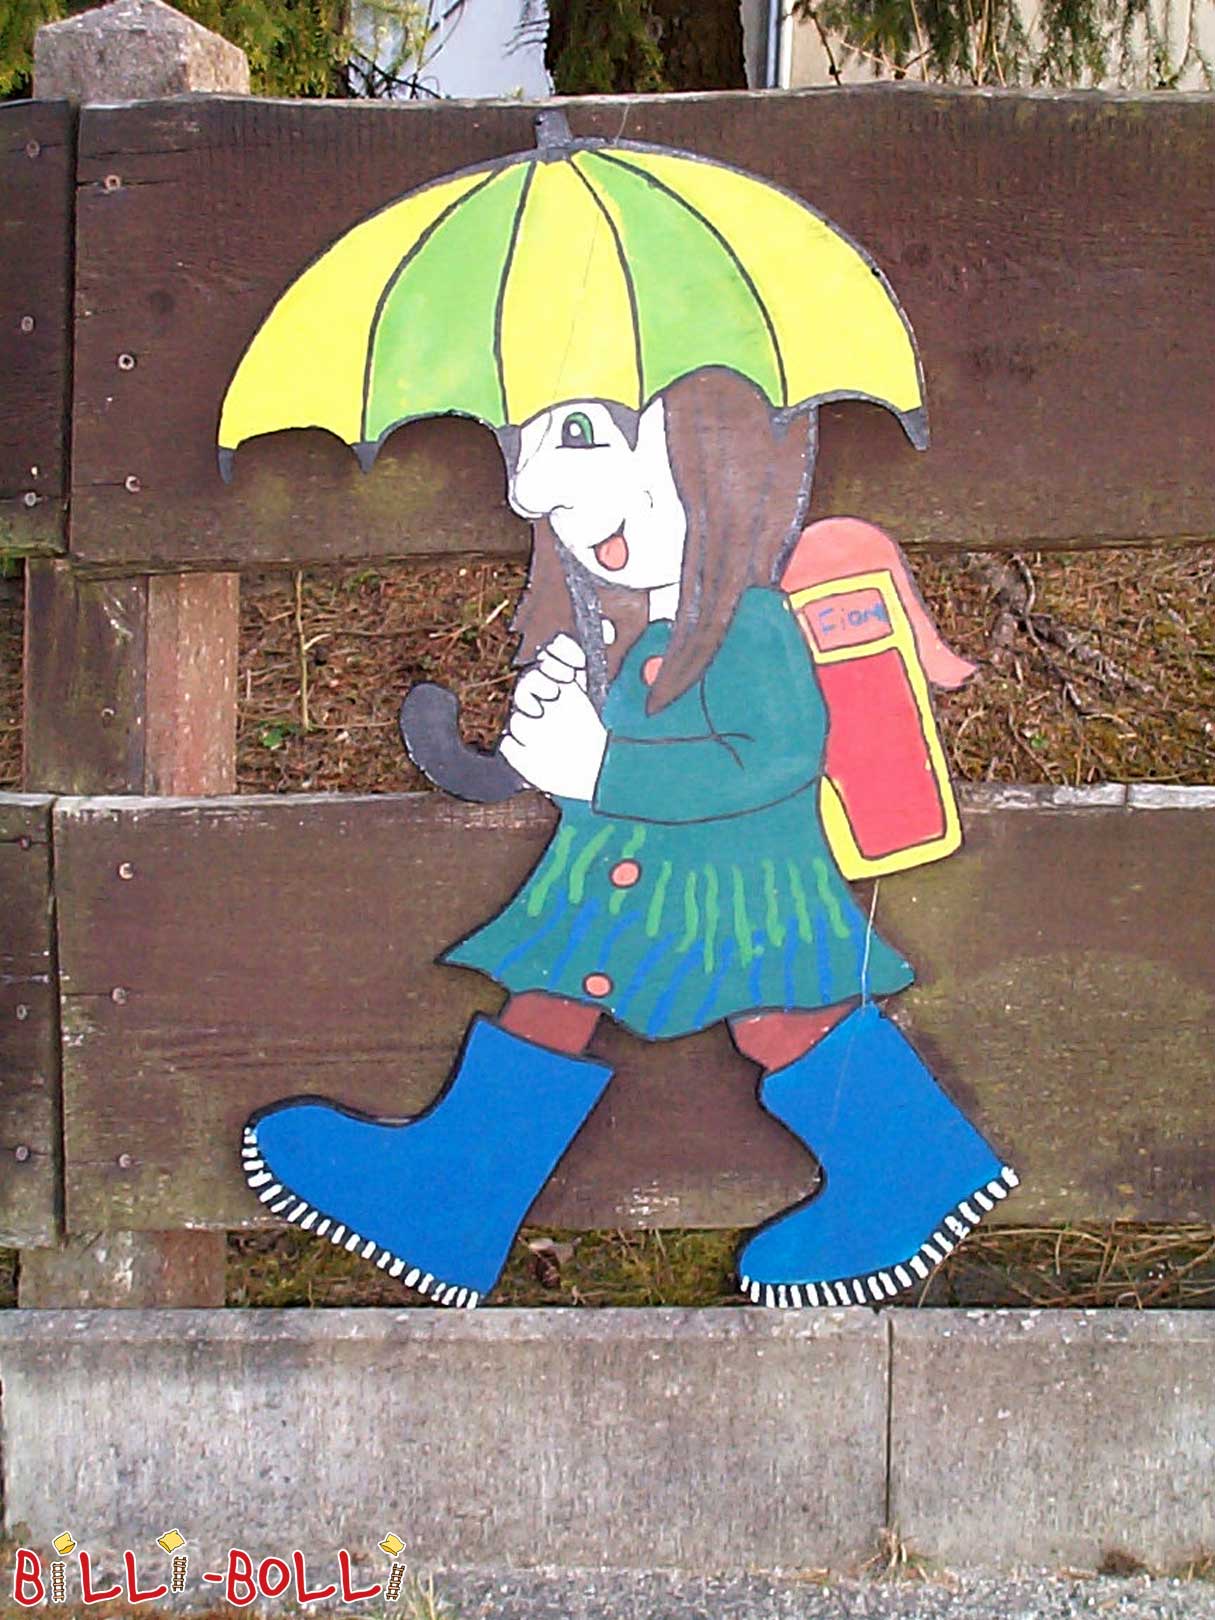
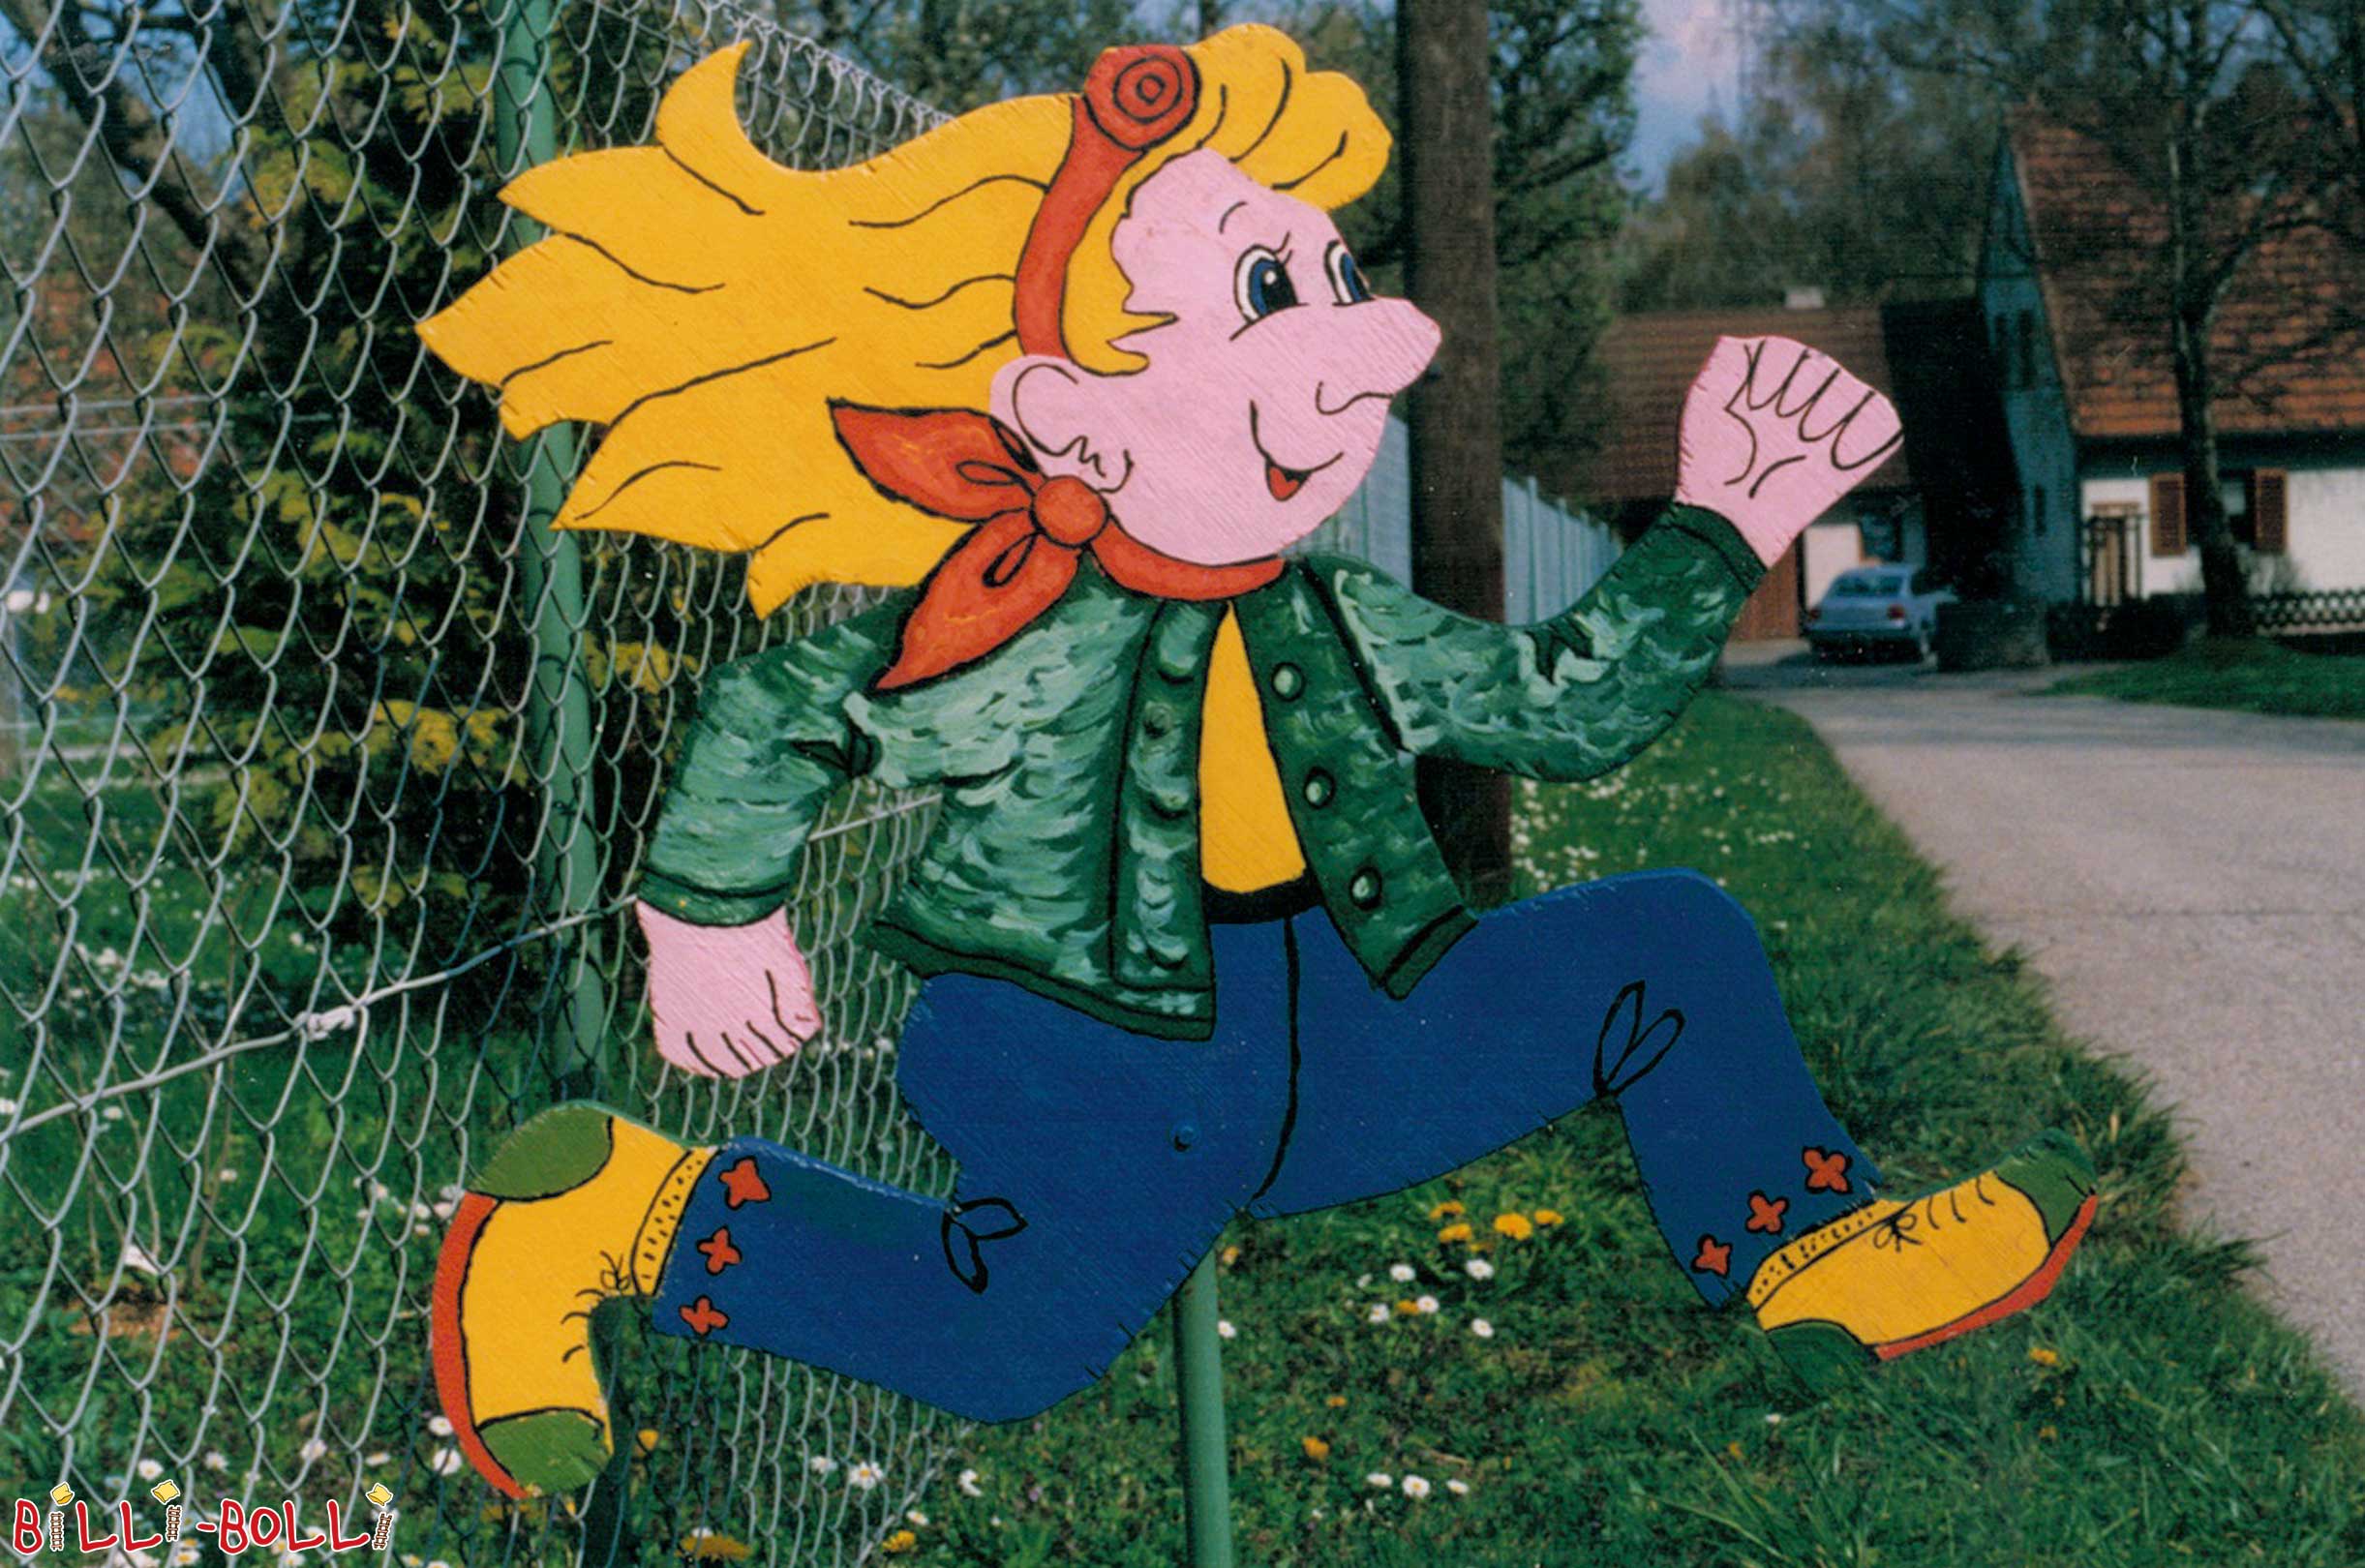
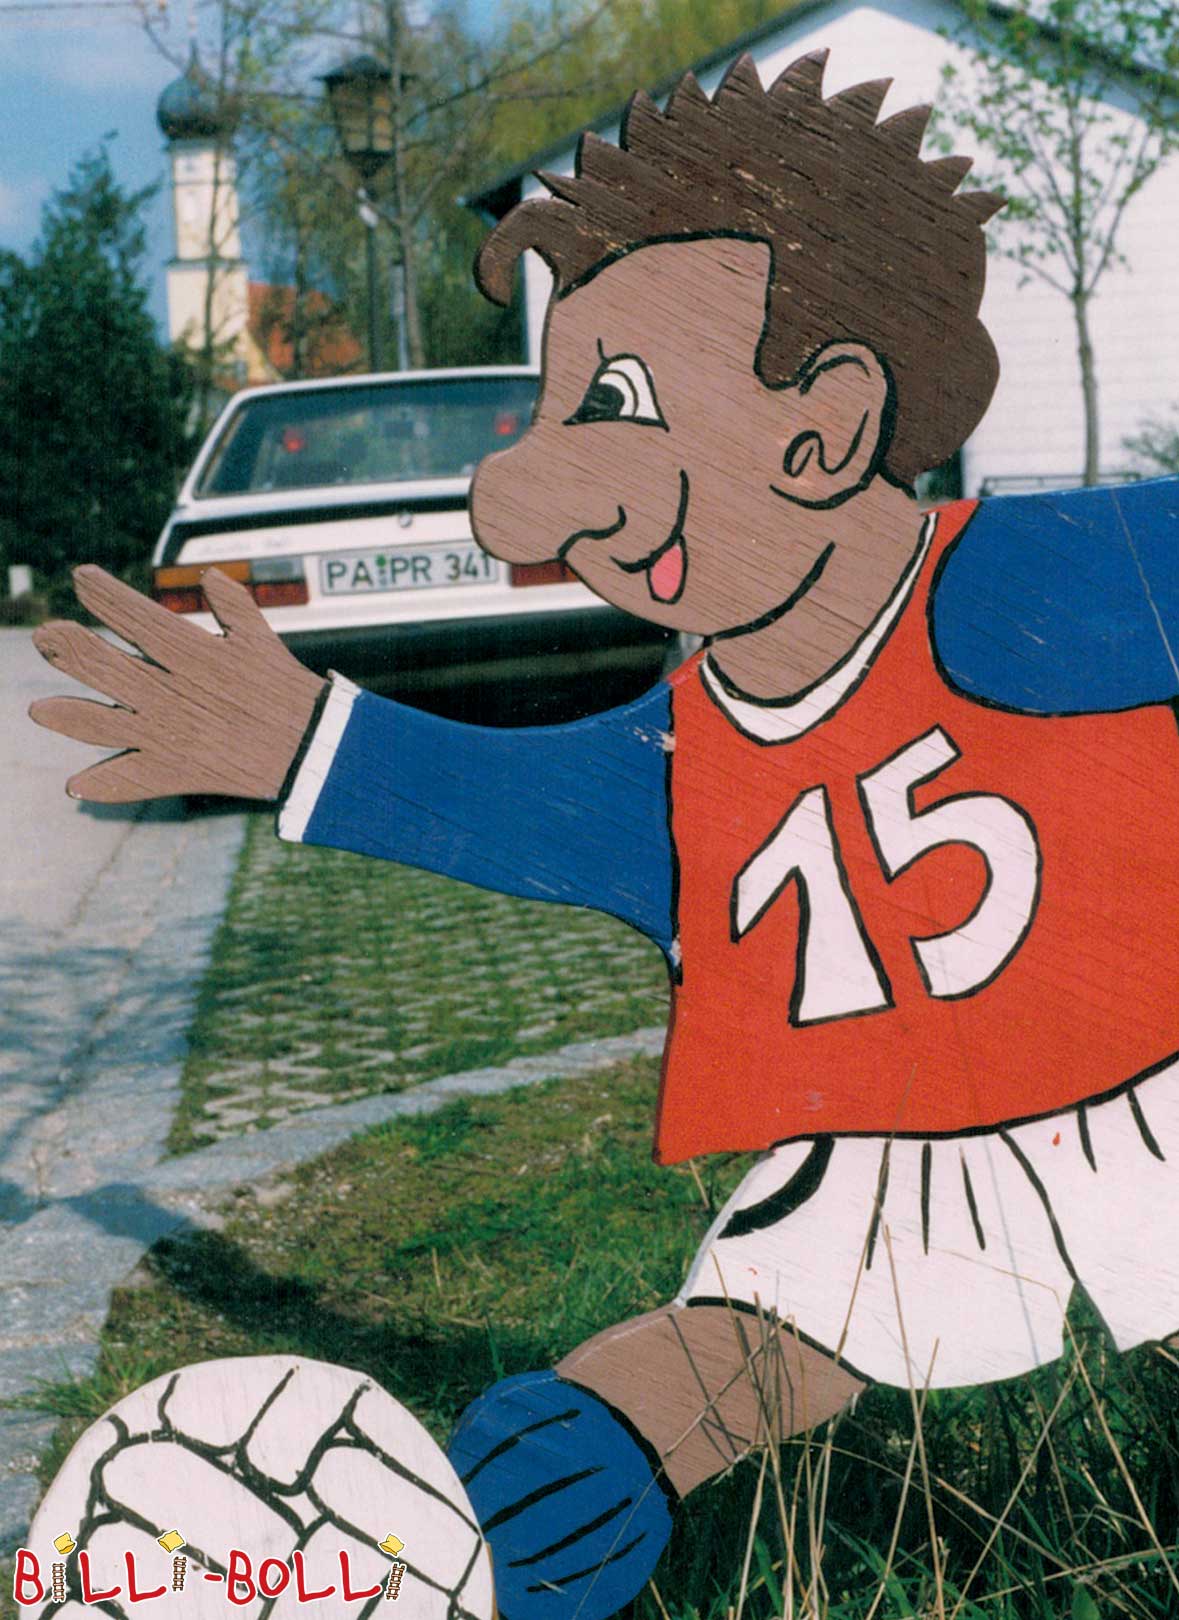
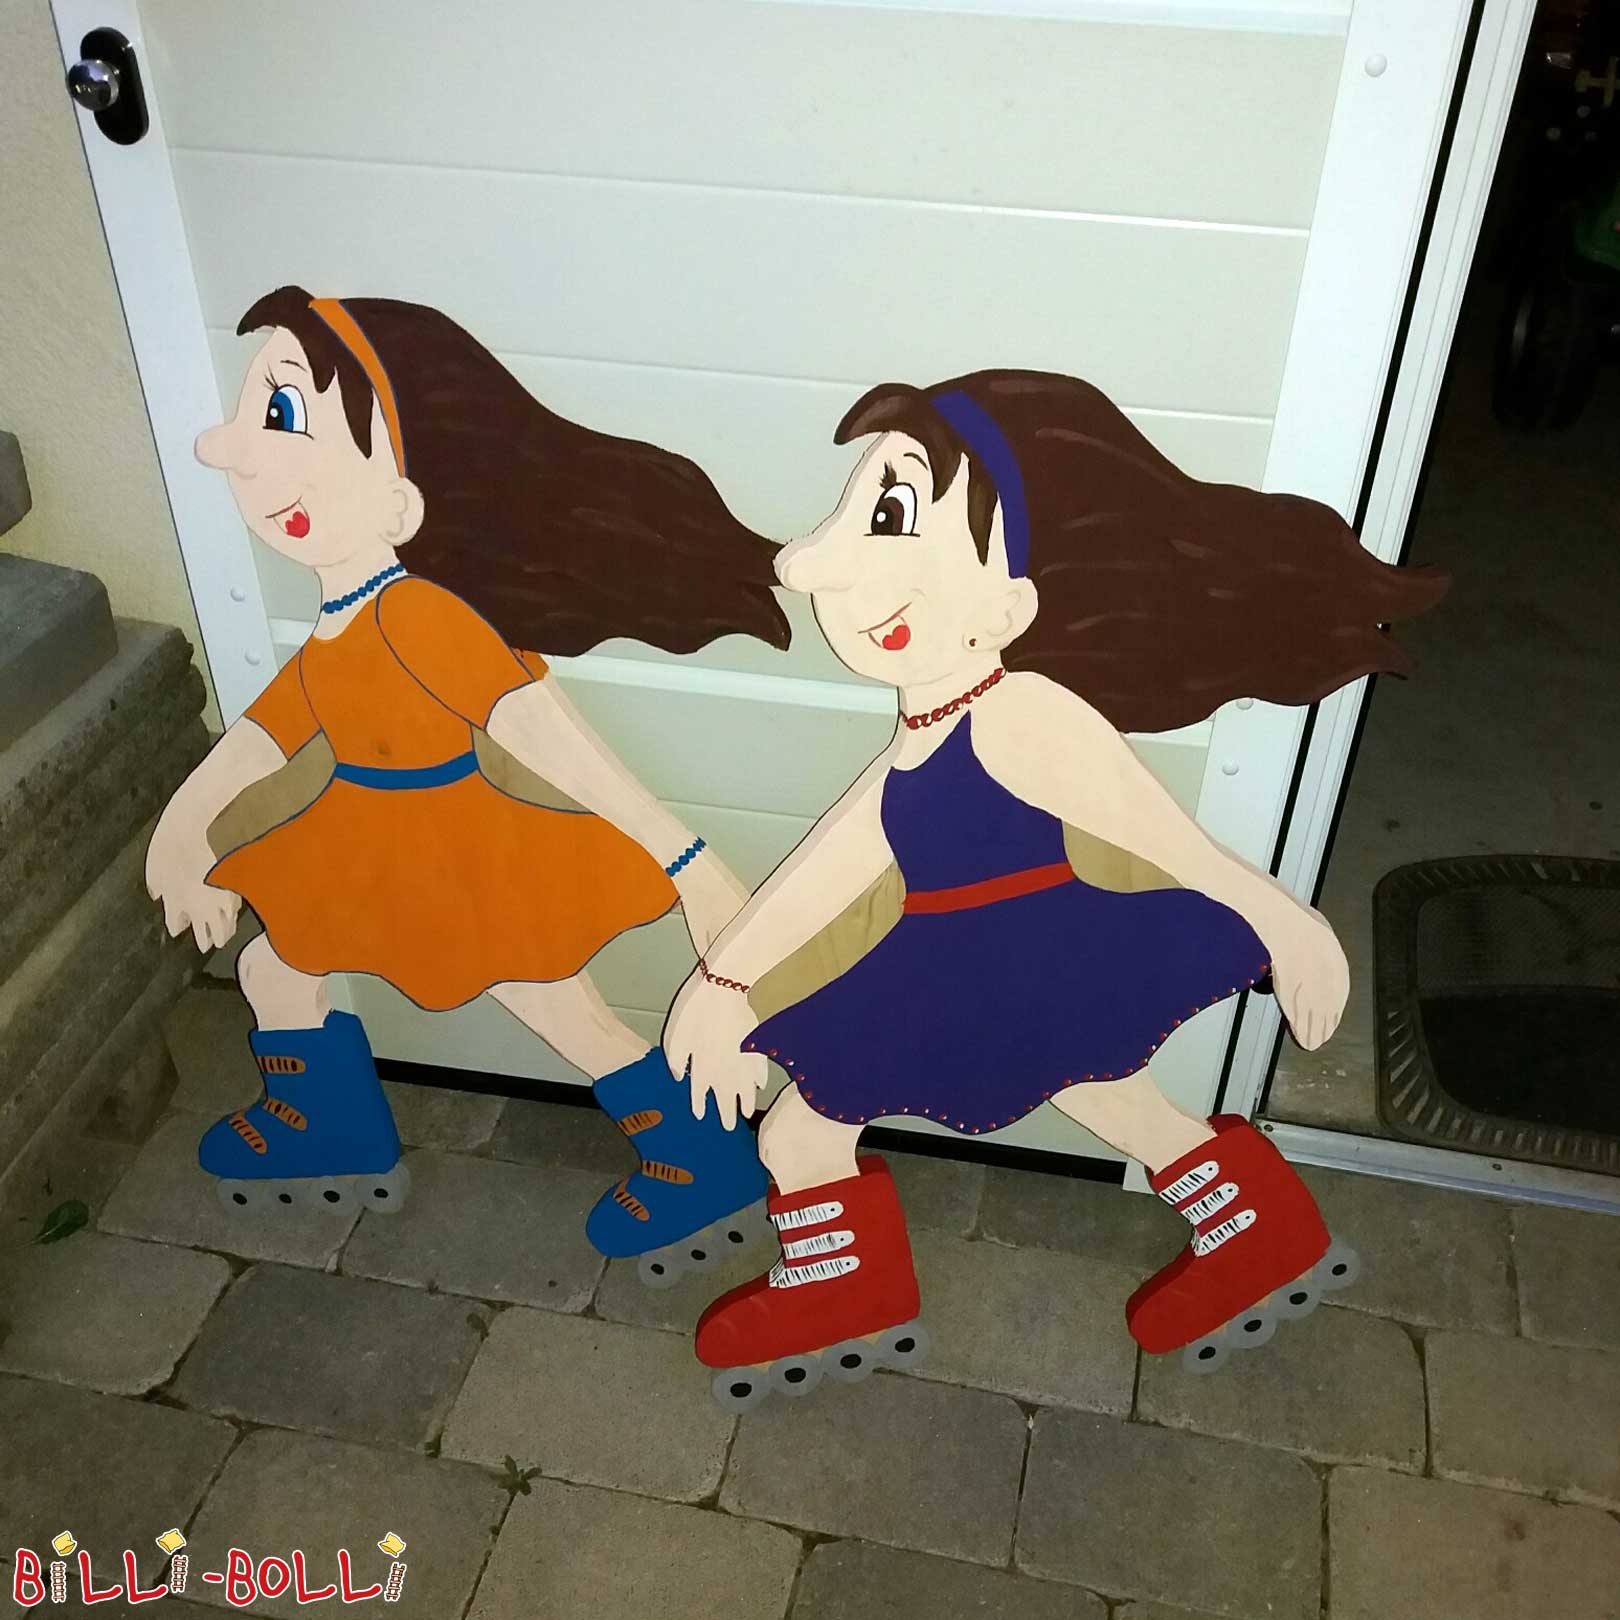
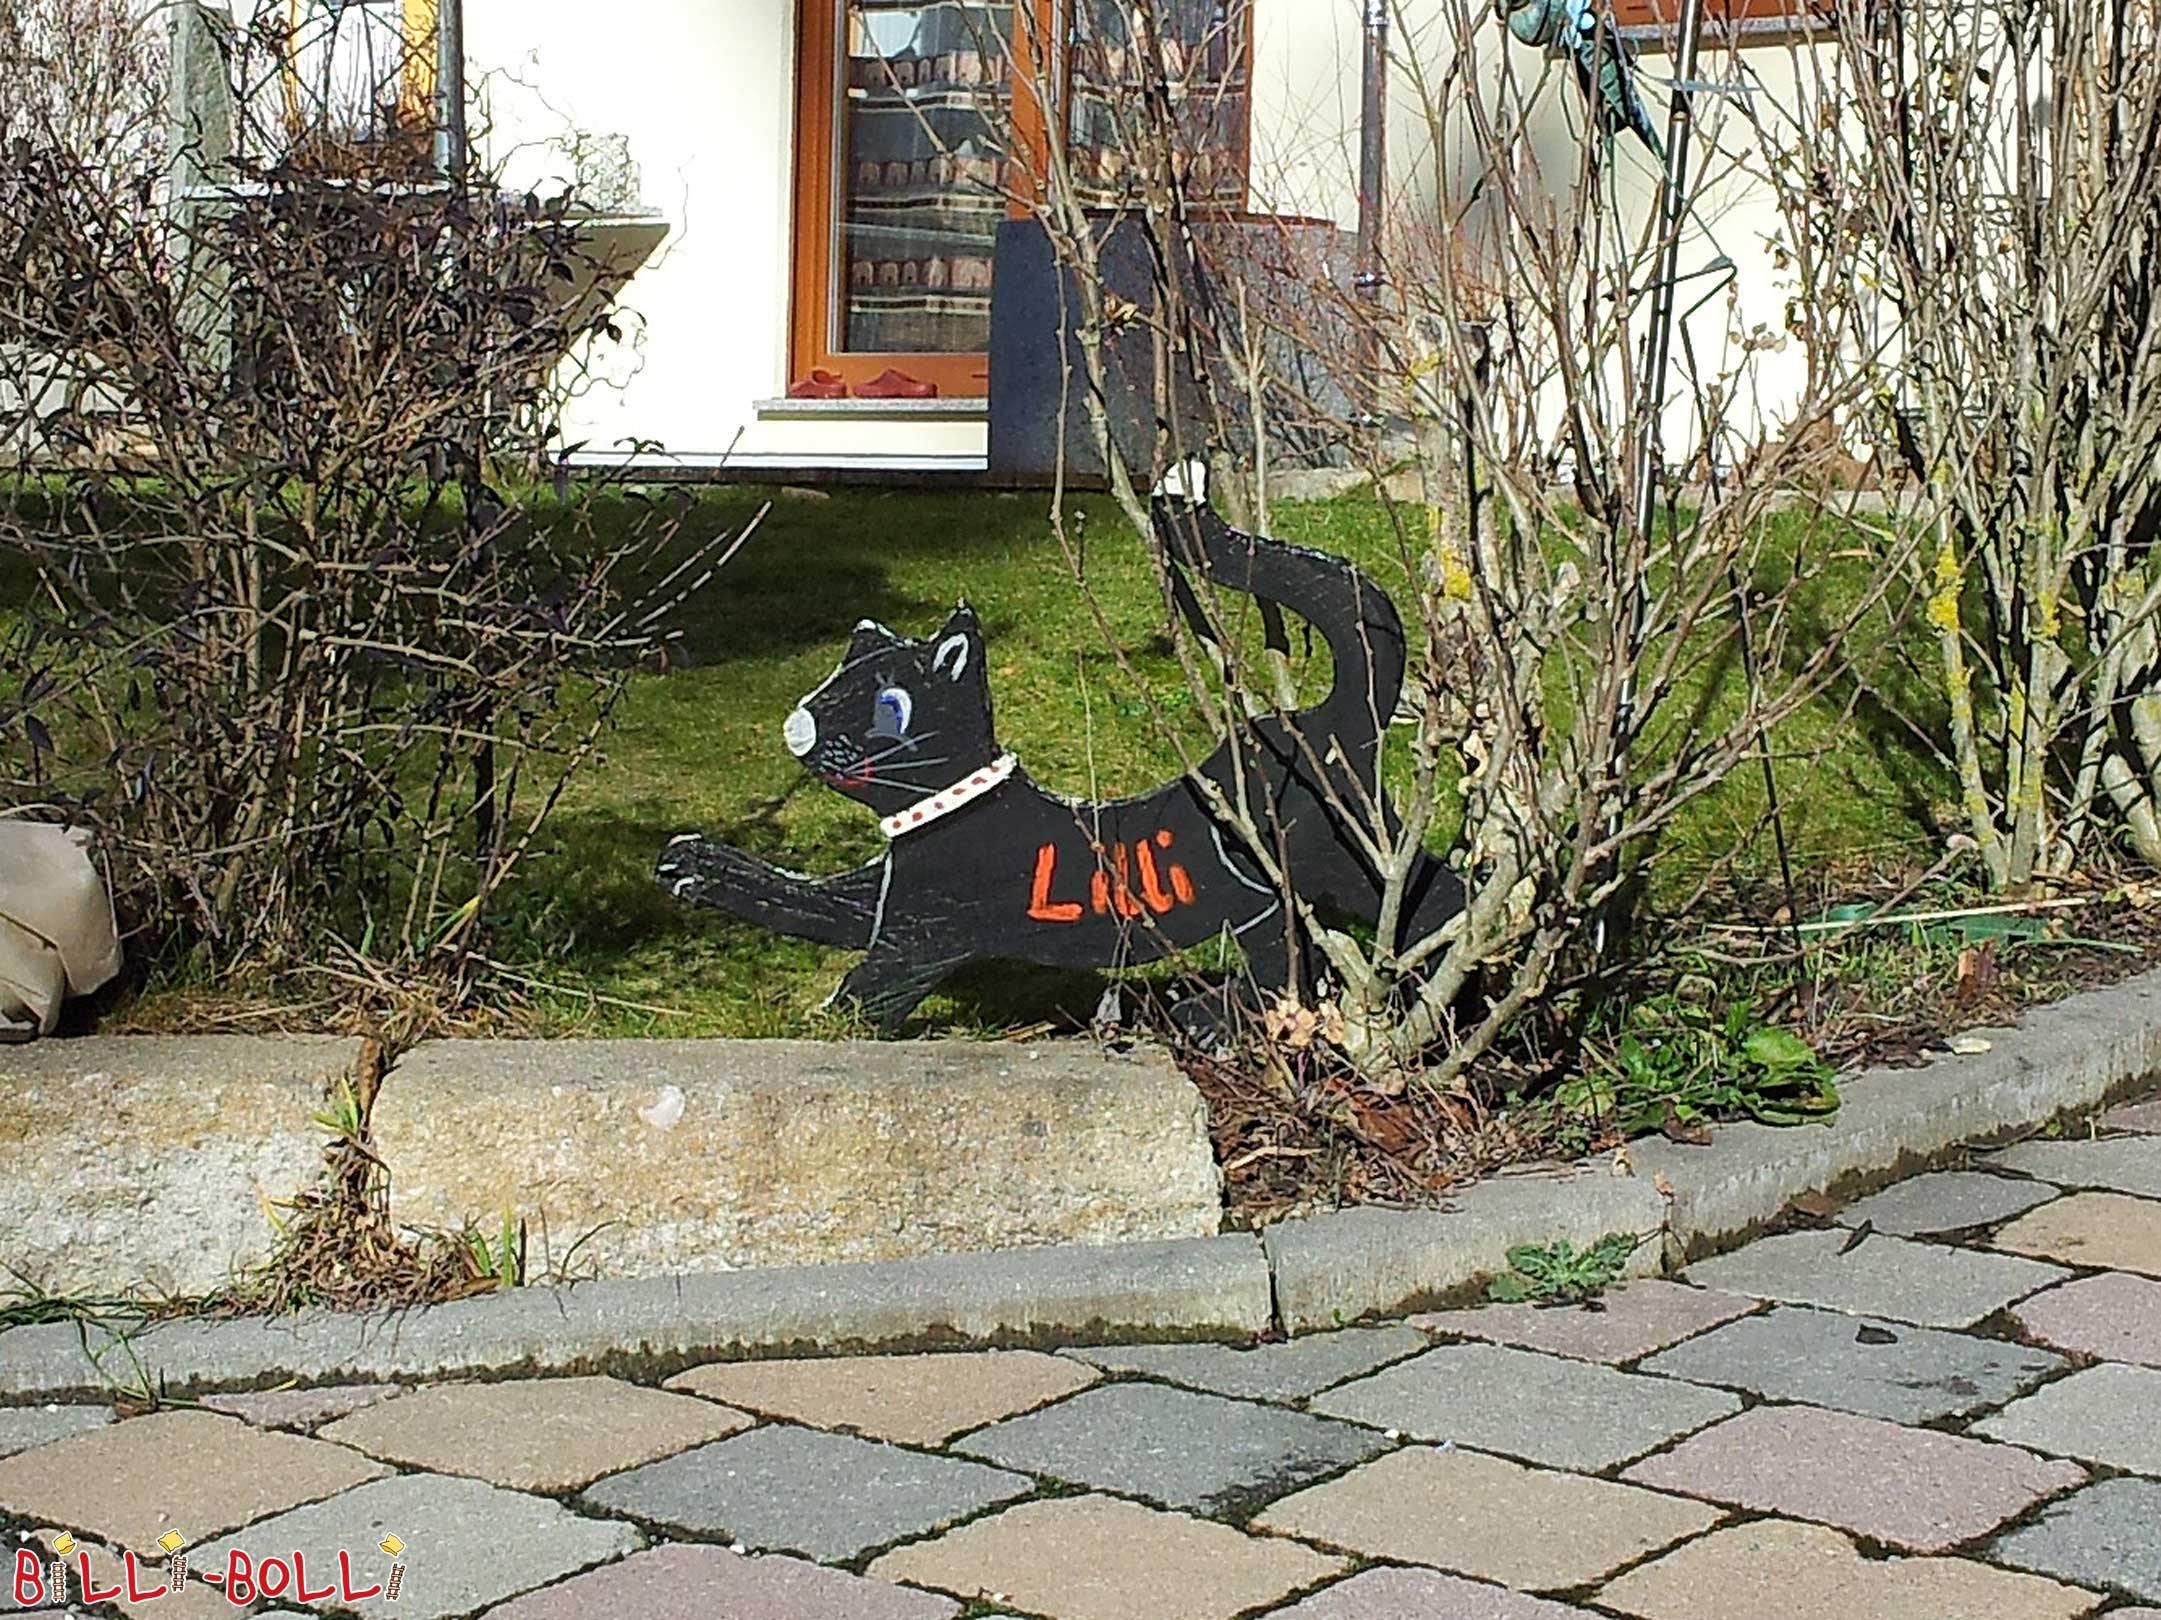
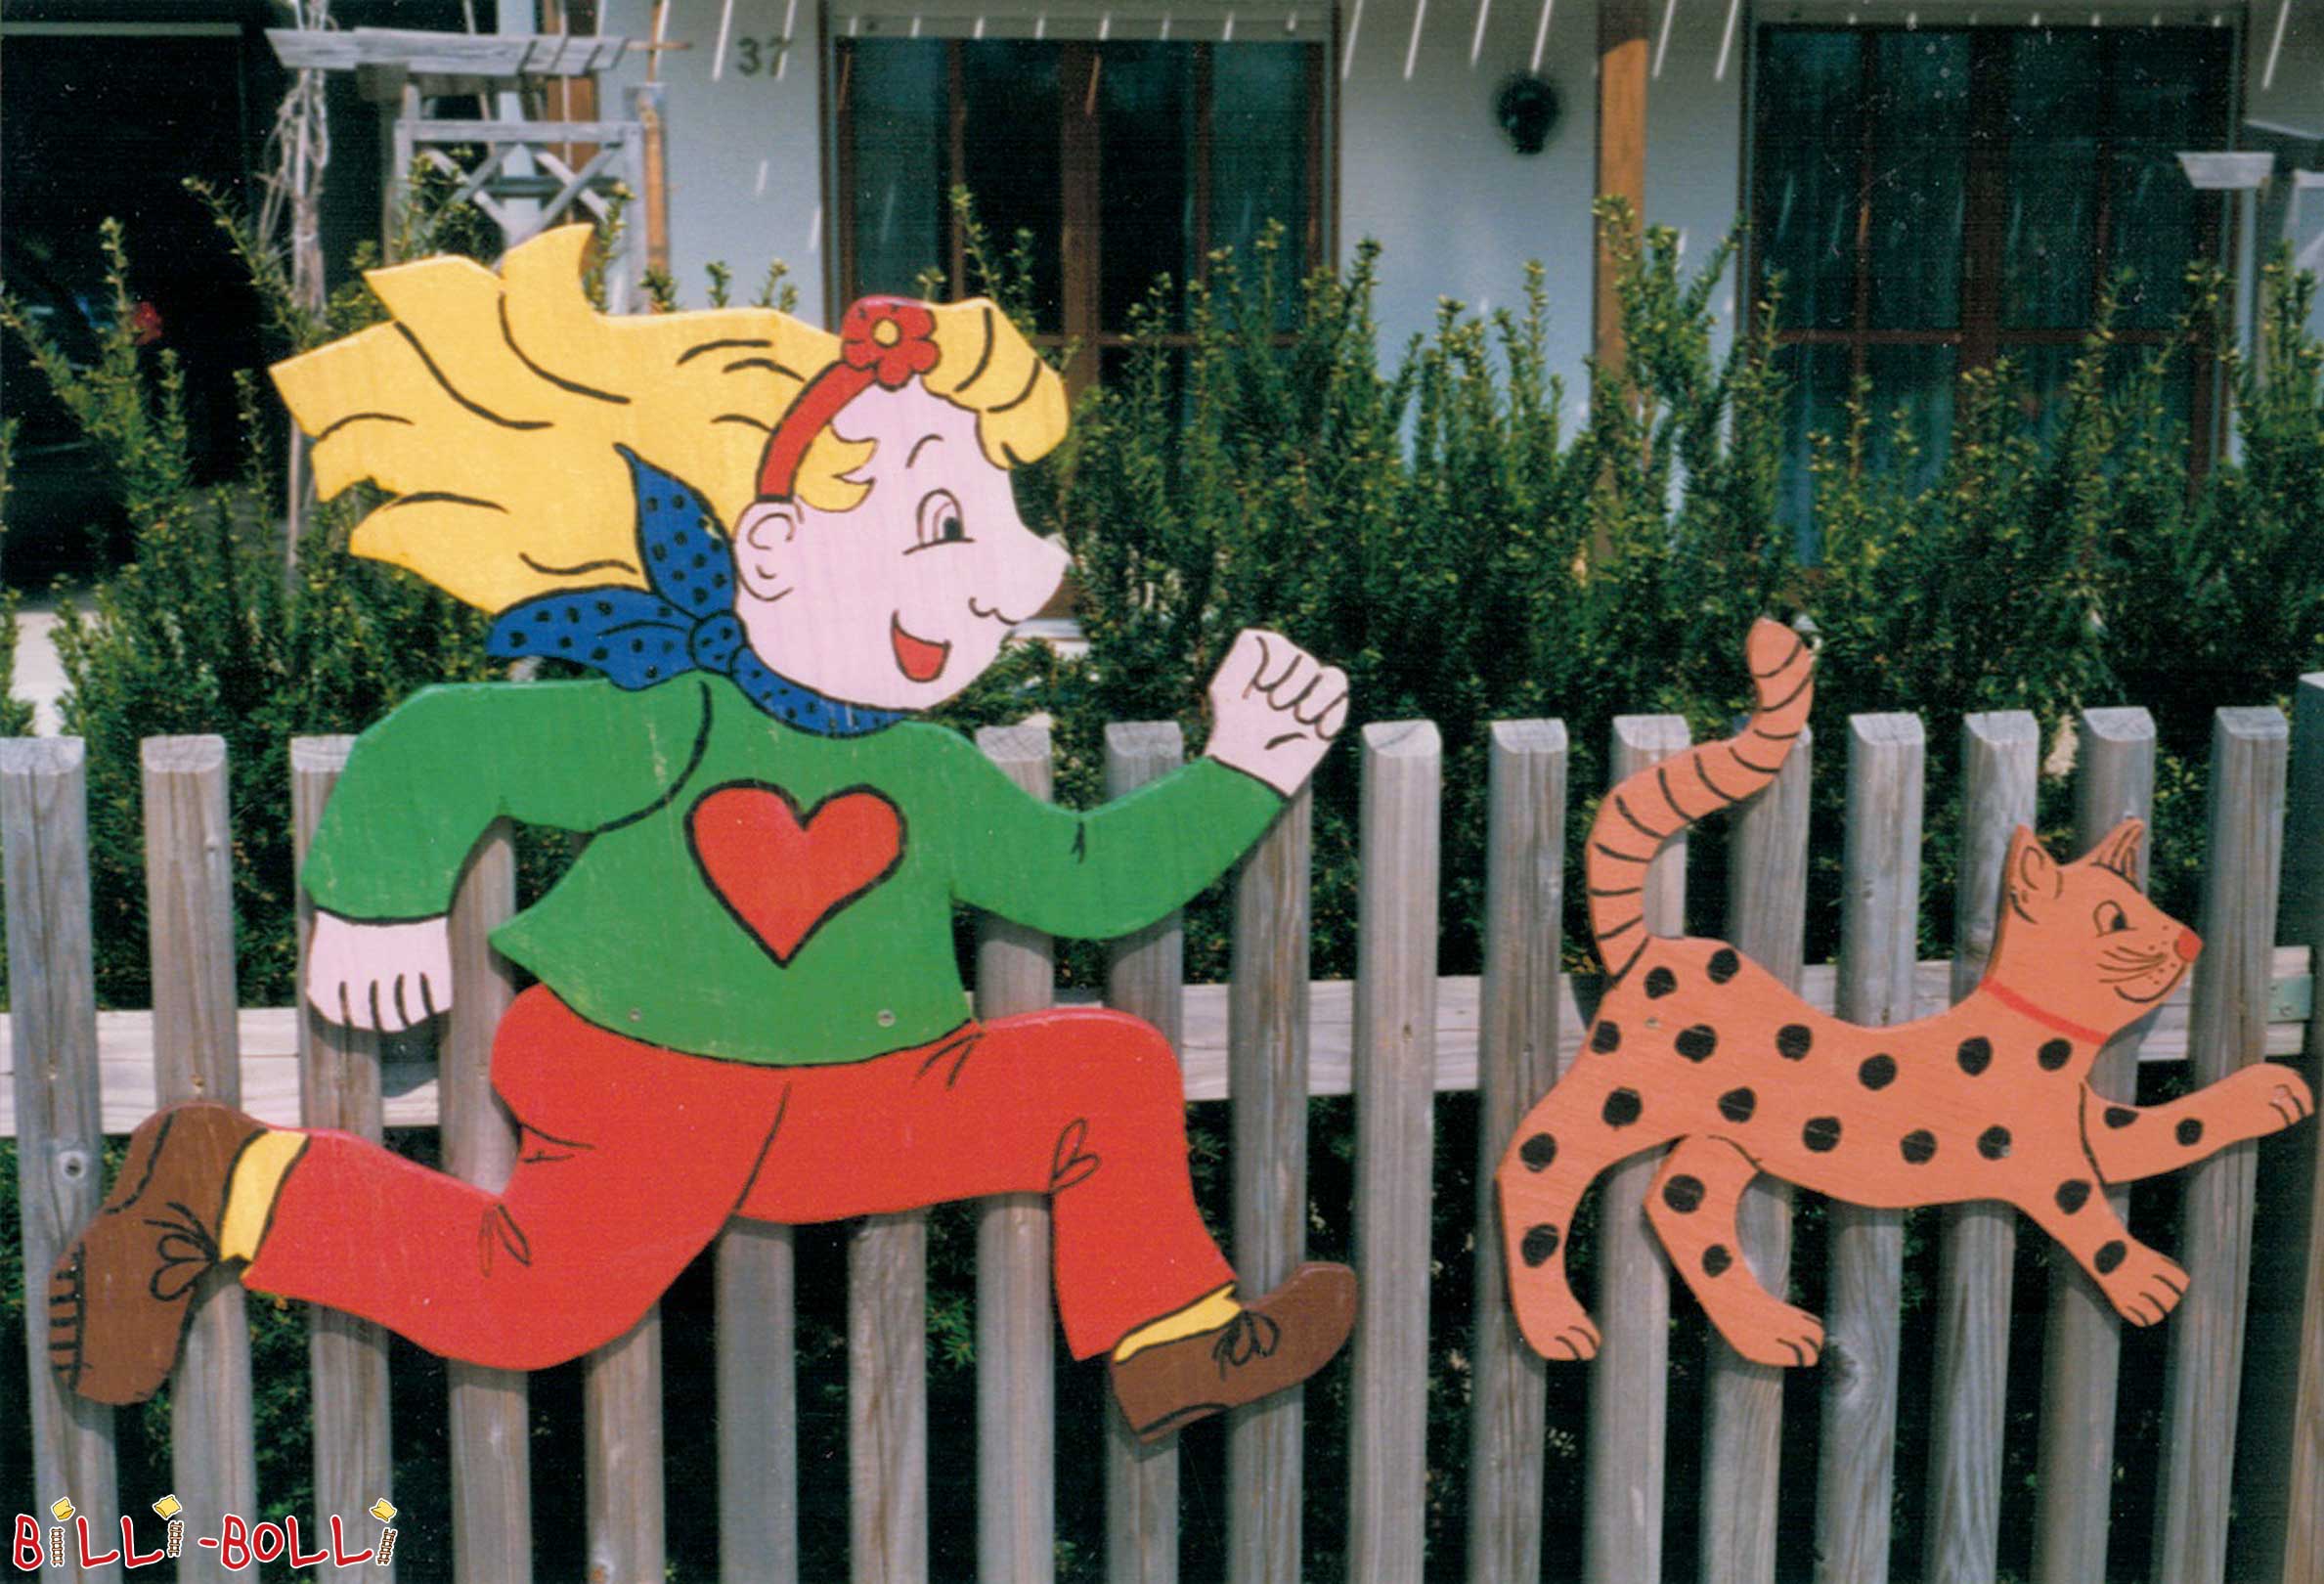
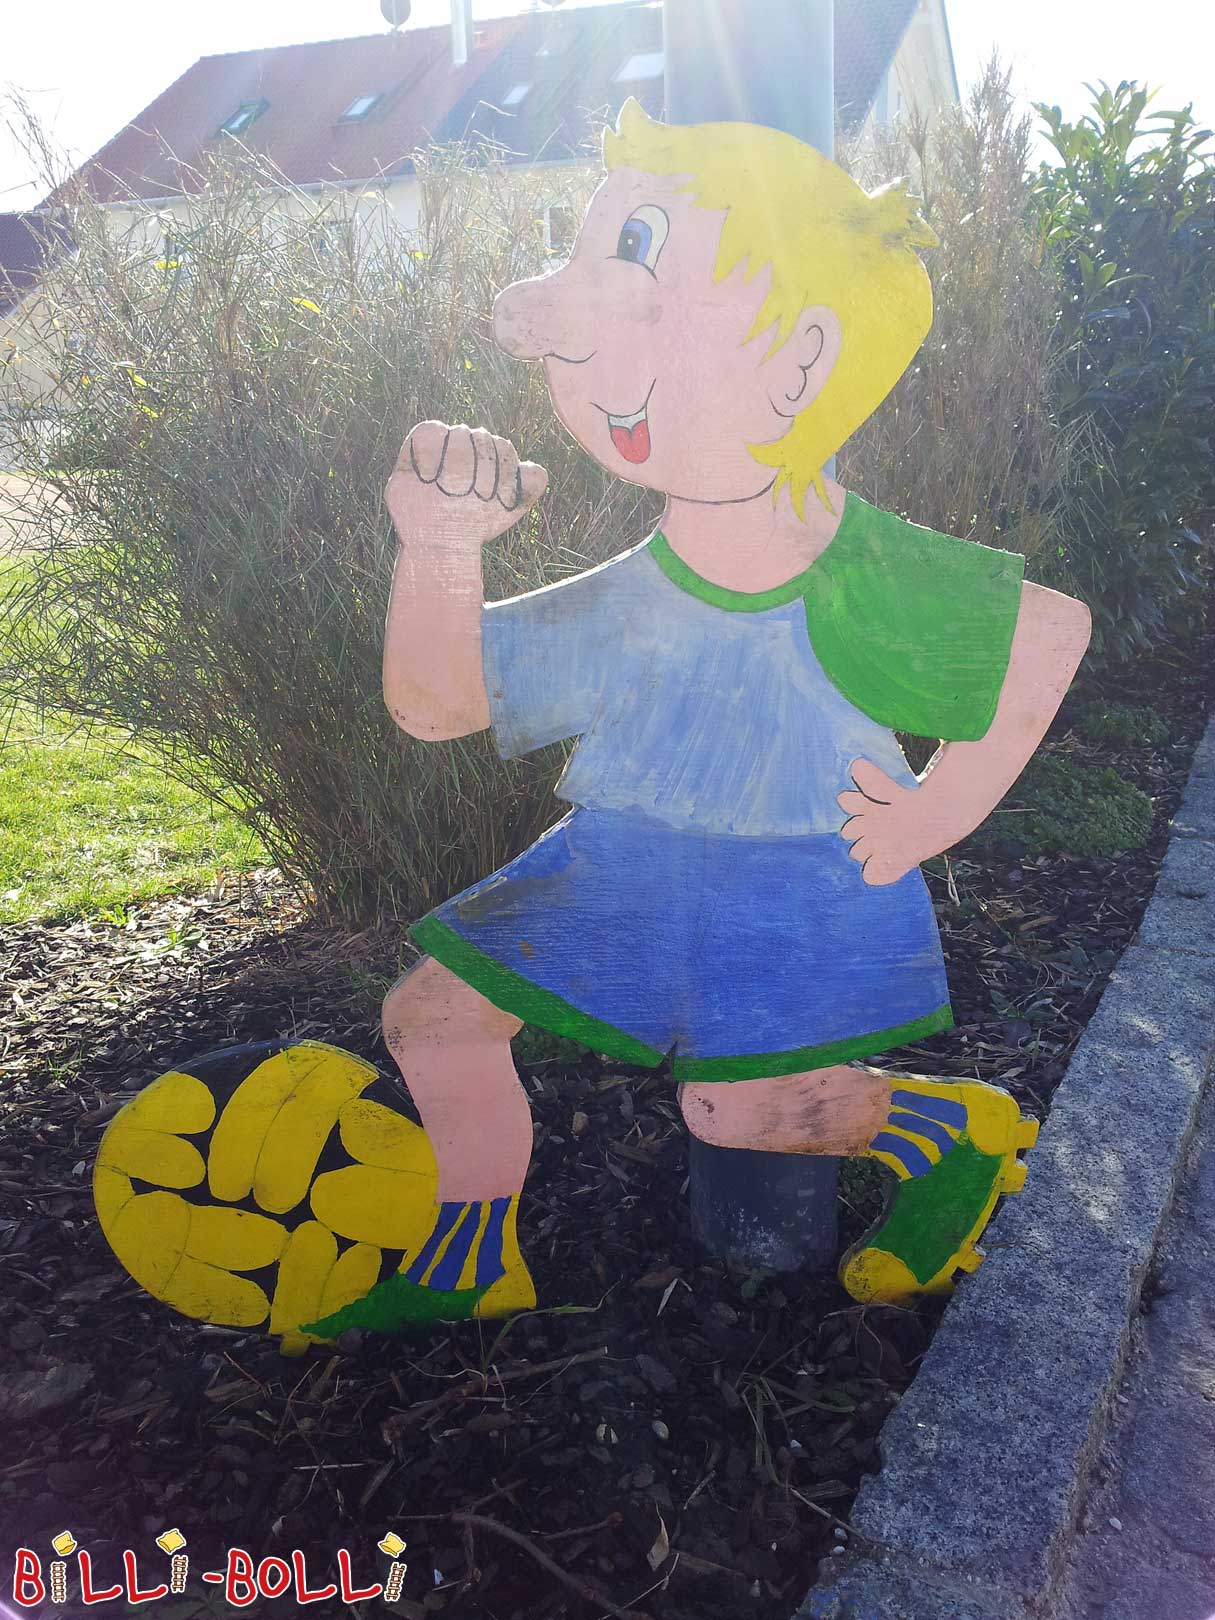
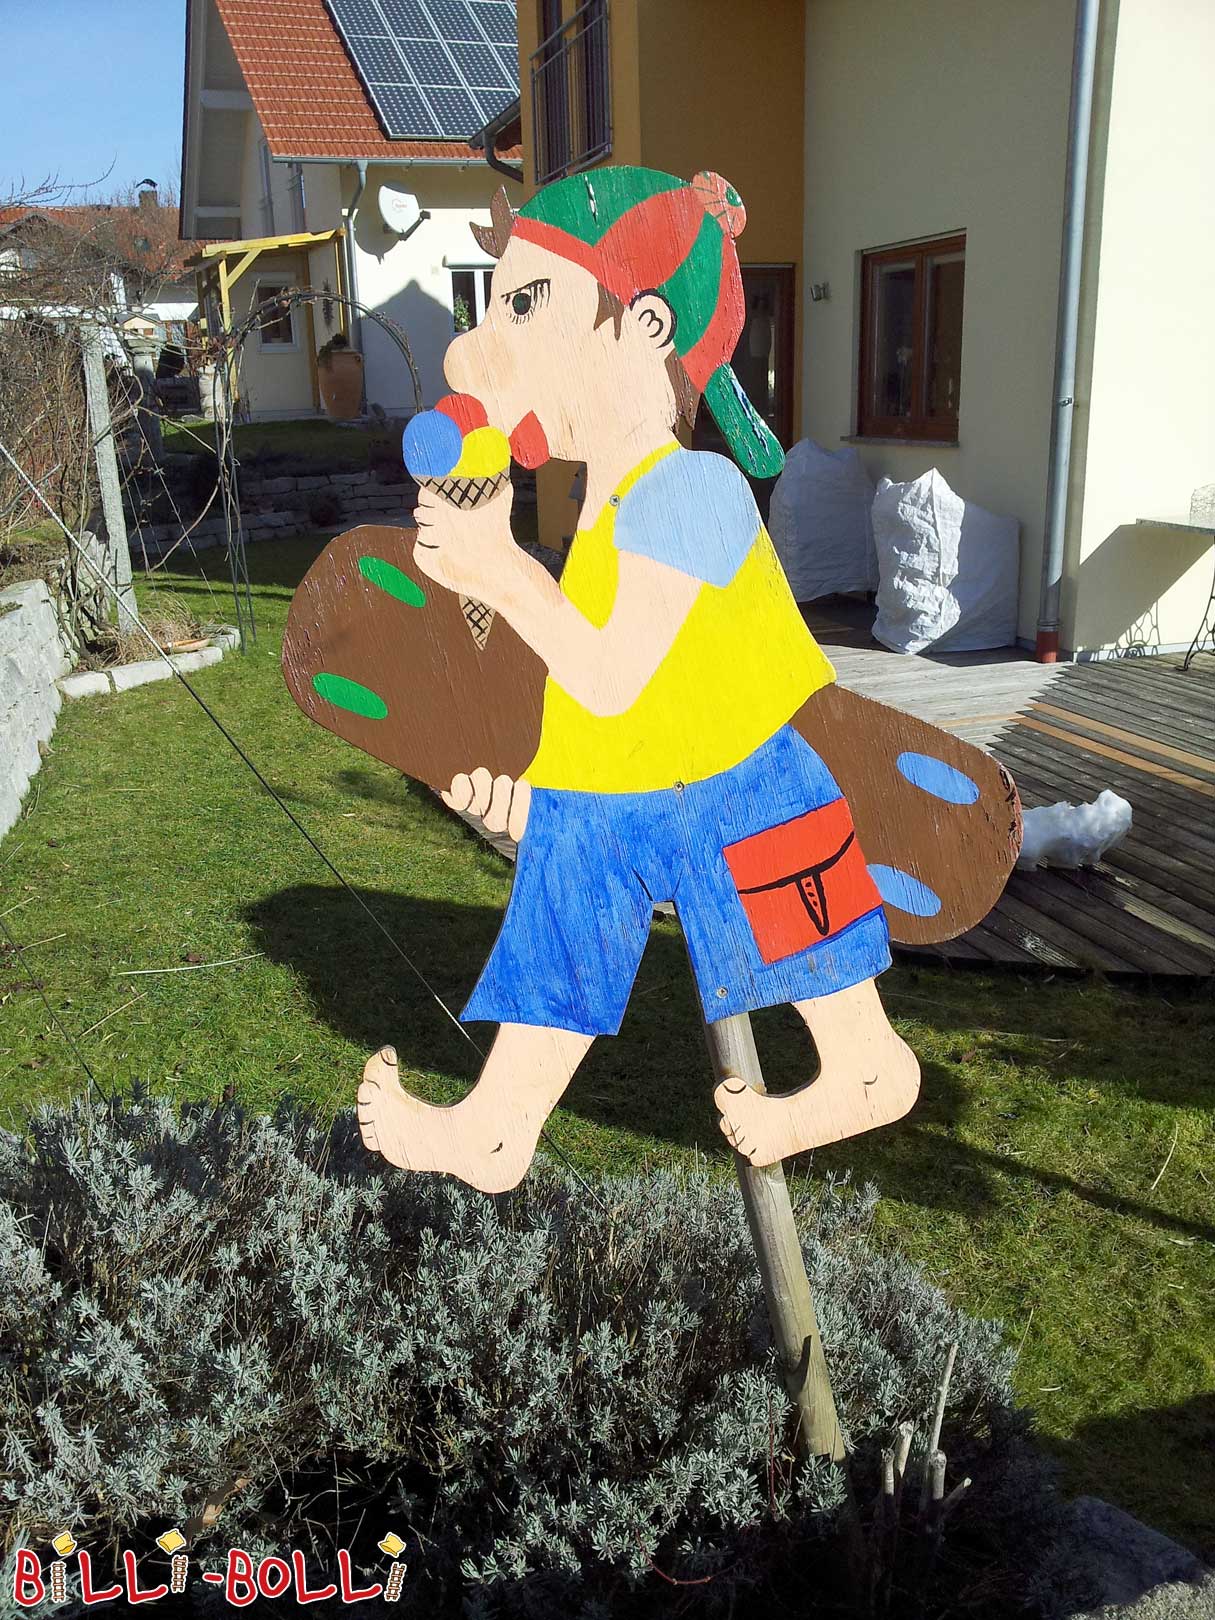
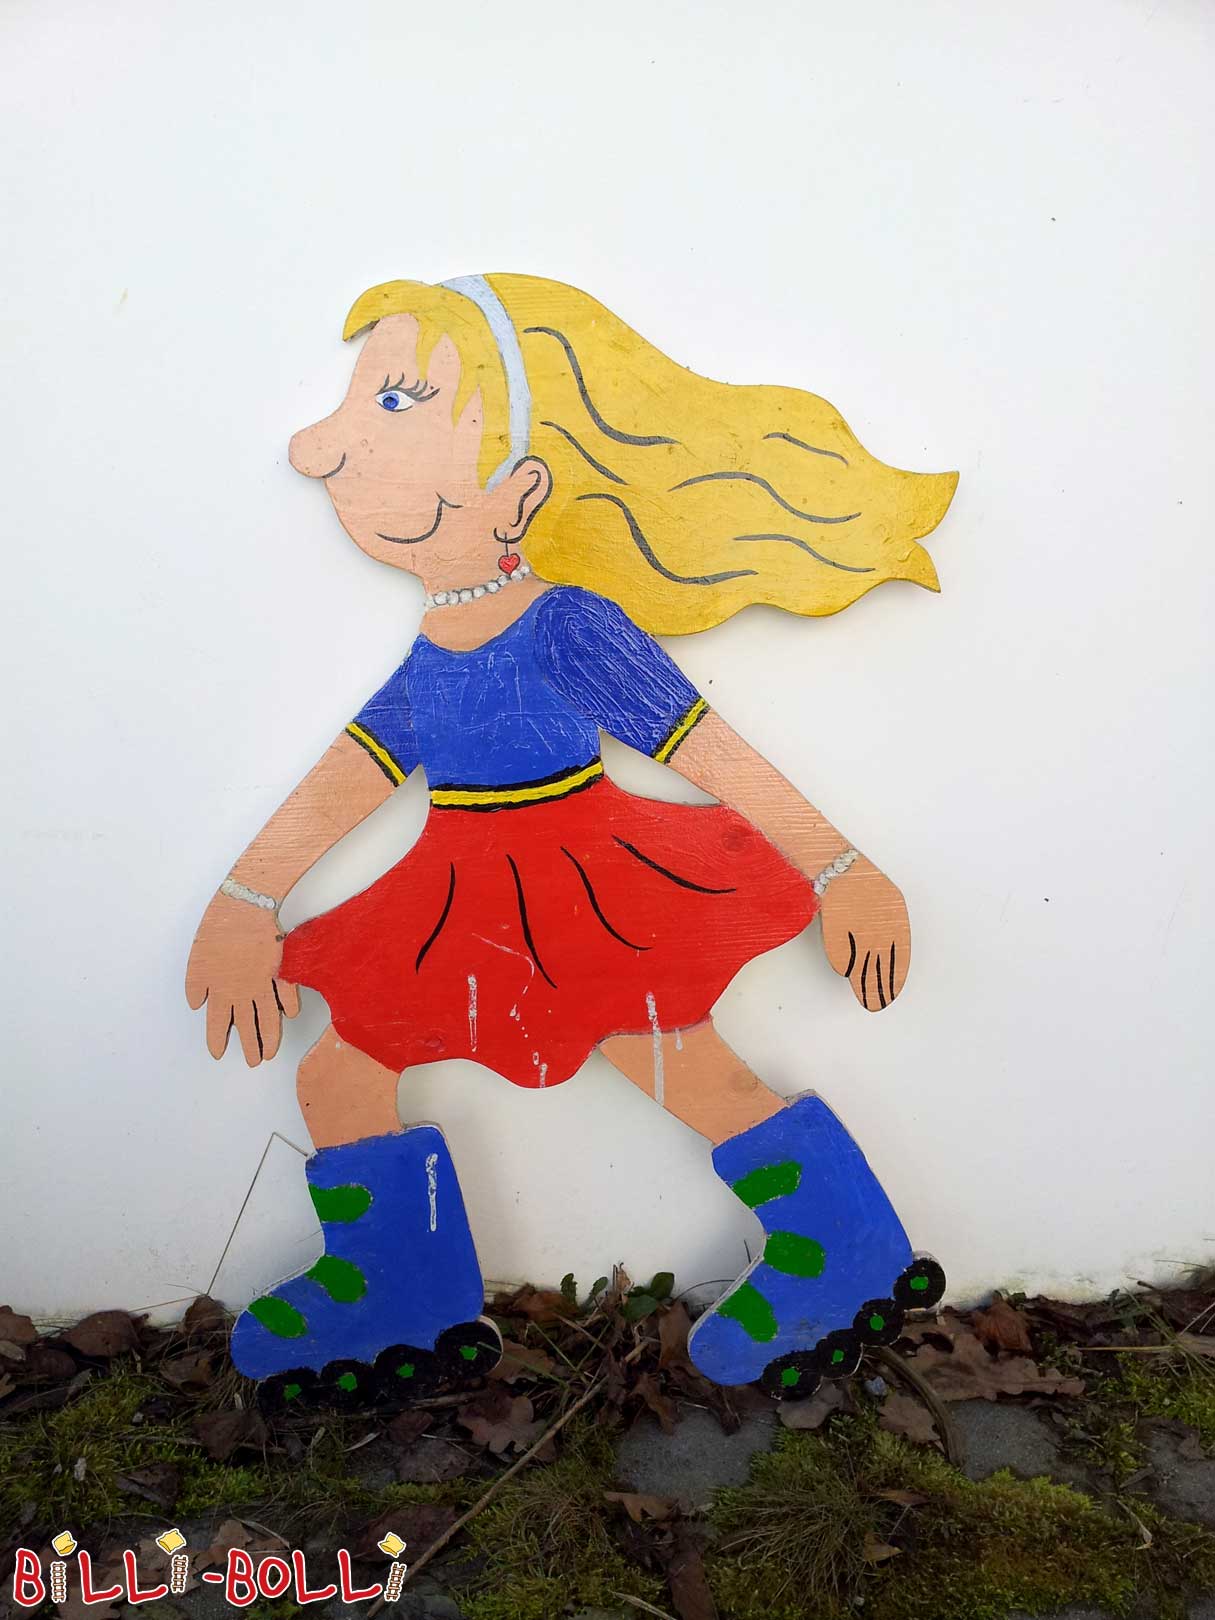
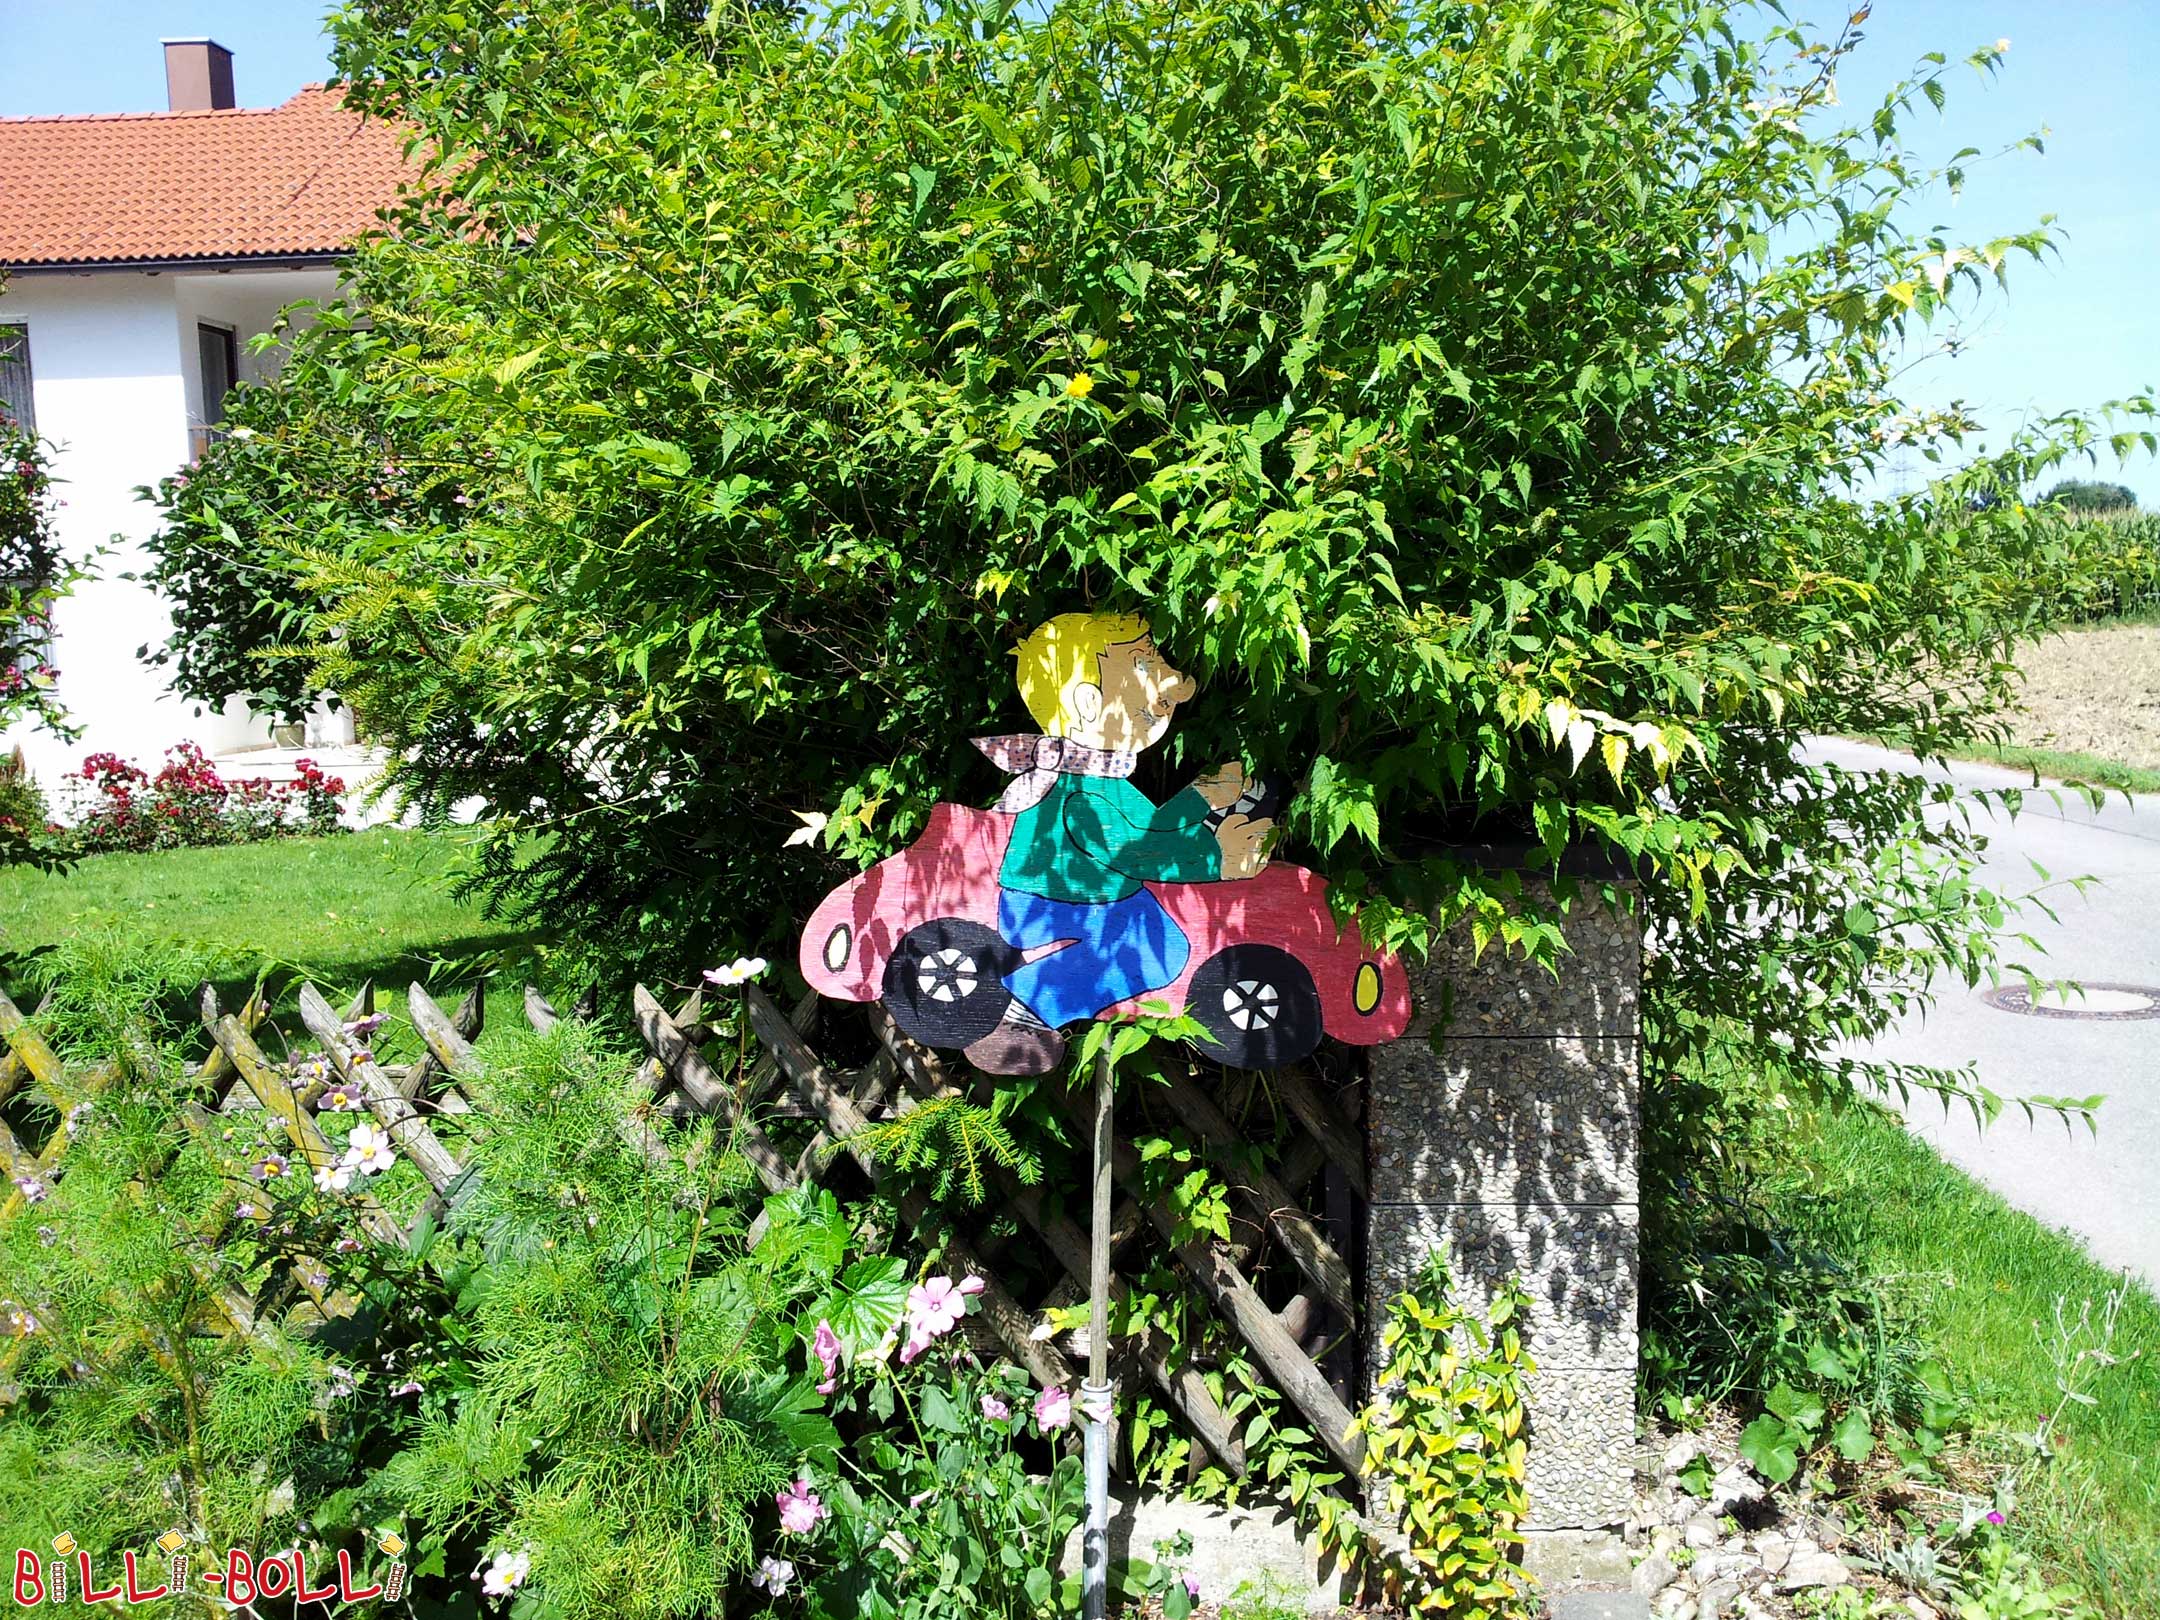
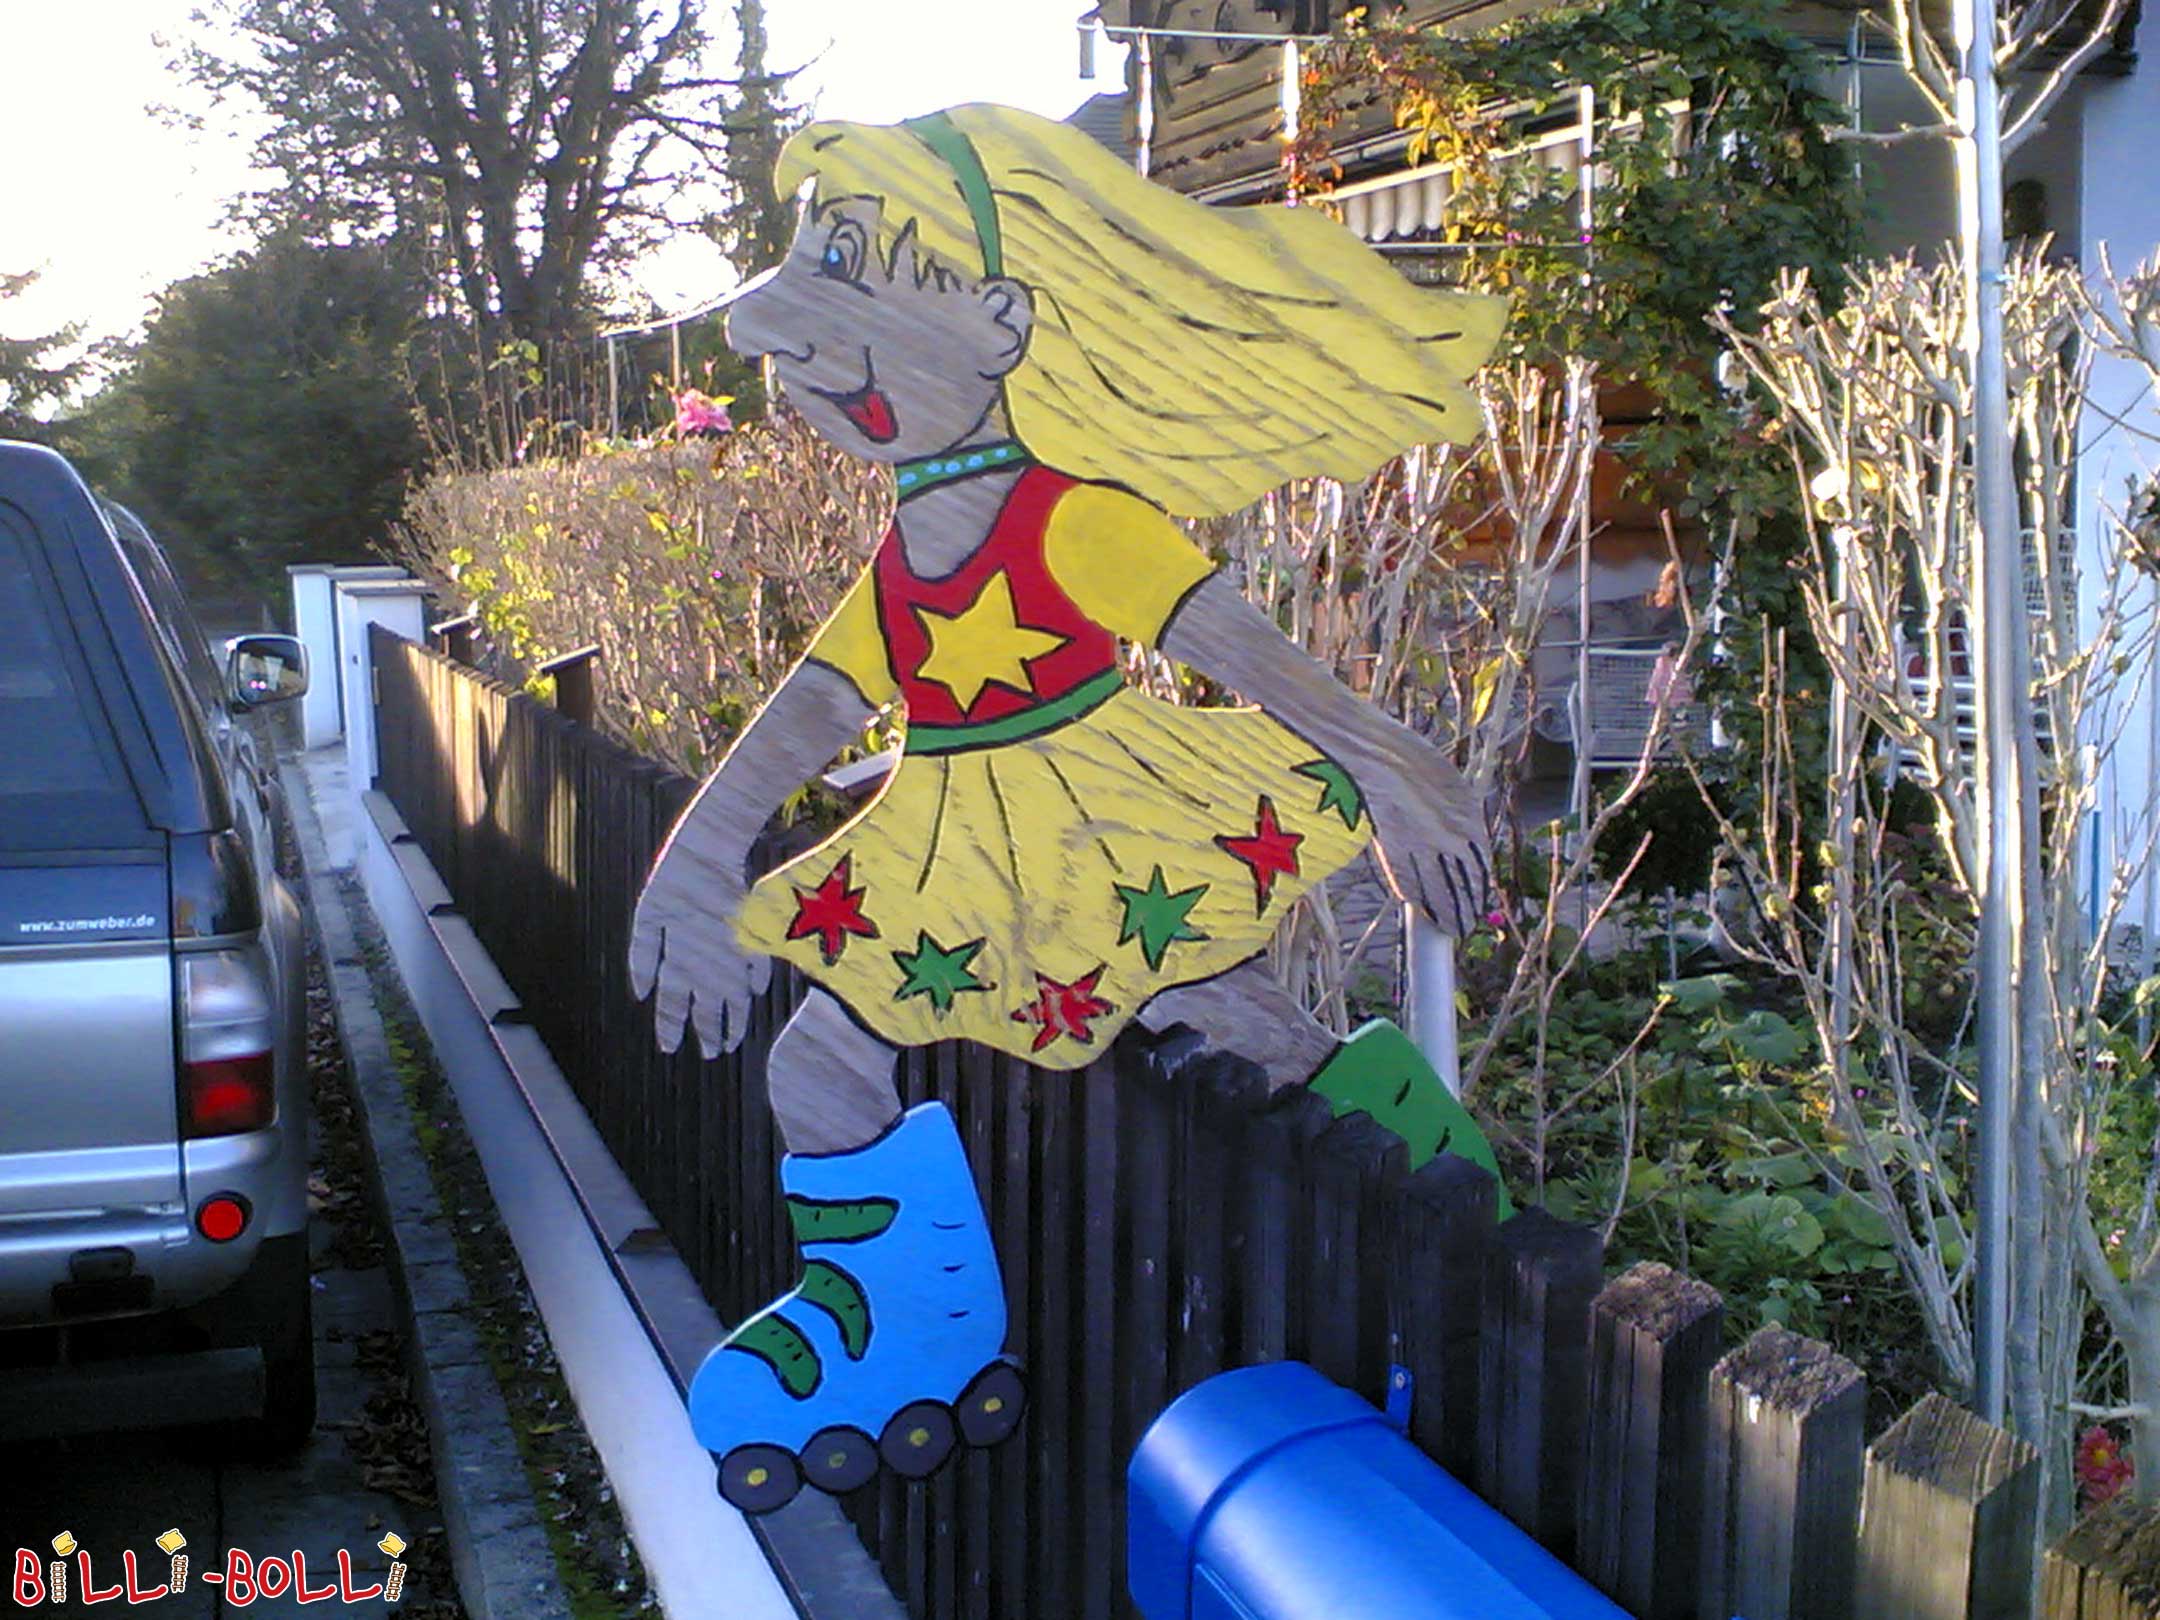
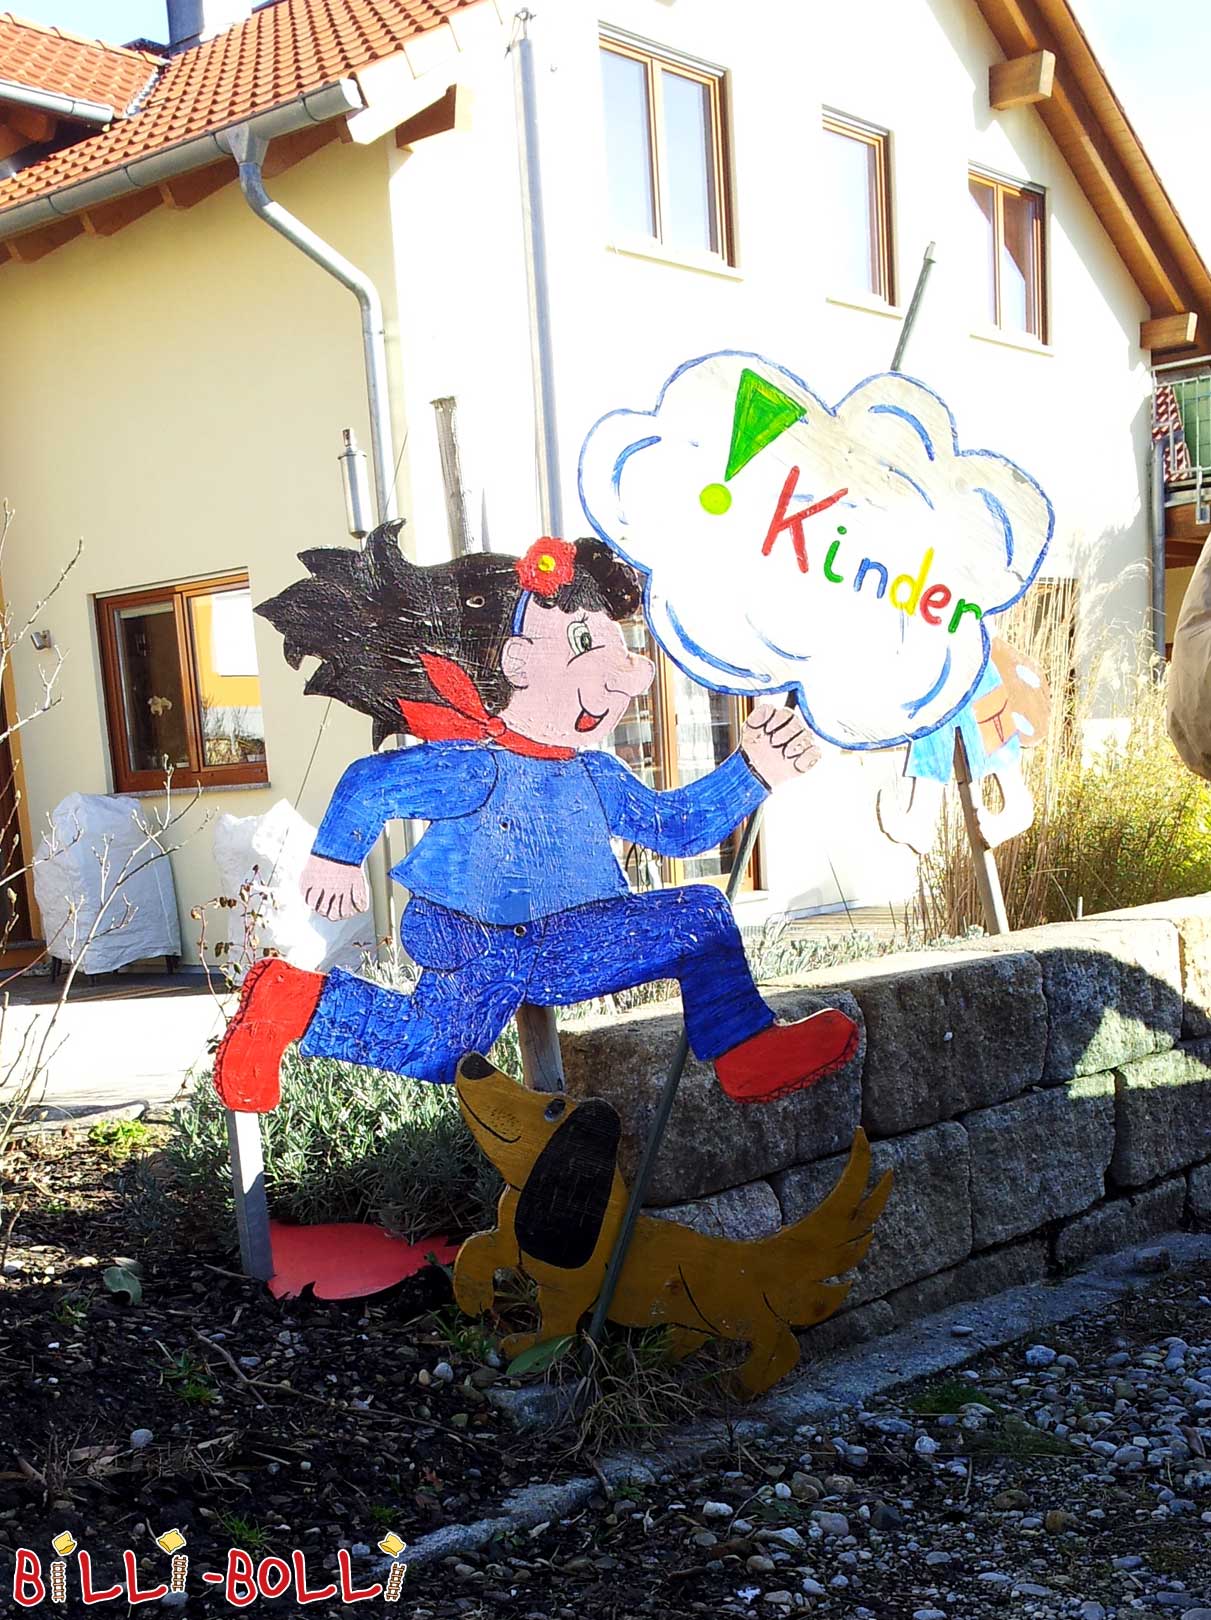
A few years ago, we implemented a creative traffic calming measure, both visually appealing and effective, in Ottenhofen, a village in the East of Munich: colourfully painted, fun wooden figures have been installed by the side of the road in residential areas.
On this page, you will find free templates ready for download and an instruction to craft the figures. This will be a lot of fun and the colouring step would be a great activity for kindergarten or primary school children. Why not start your own parent-led initiative to craft your own wooden figures together with the kids!
We advise you to carefully read through the instruction manual before you begin to plan the process, so you will know exactly which materials you need.
Please note, this instruction manual is for personal use only. Any liability for damages resulting from crafting and the subsequent use of the figures is explicitly excluded.
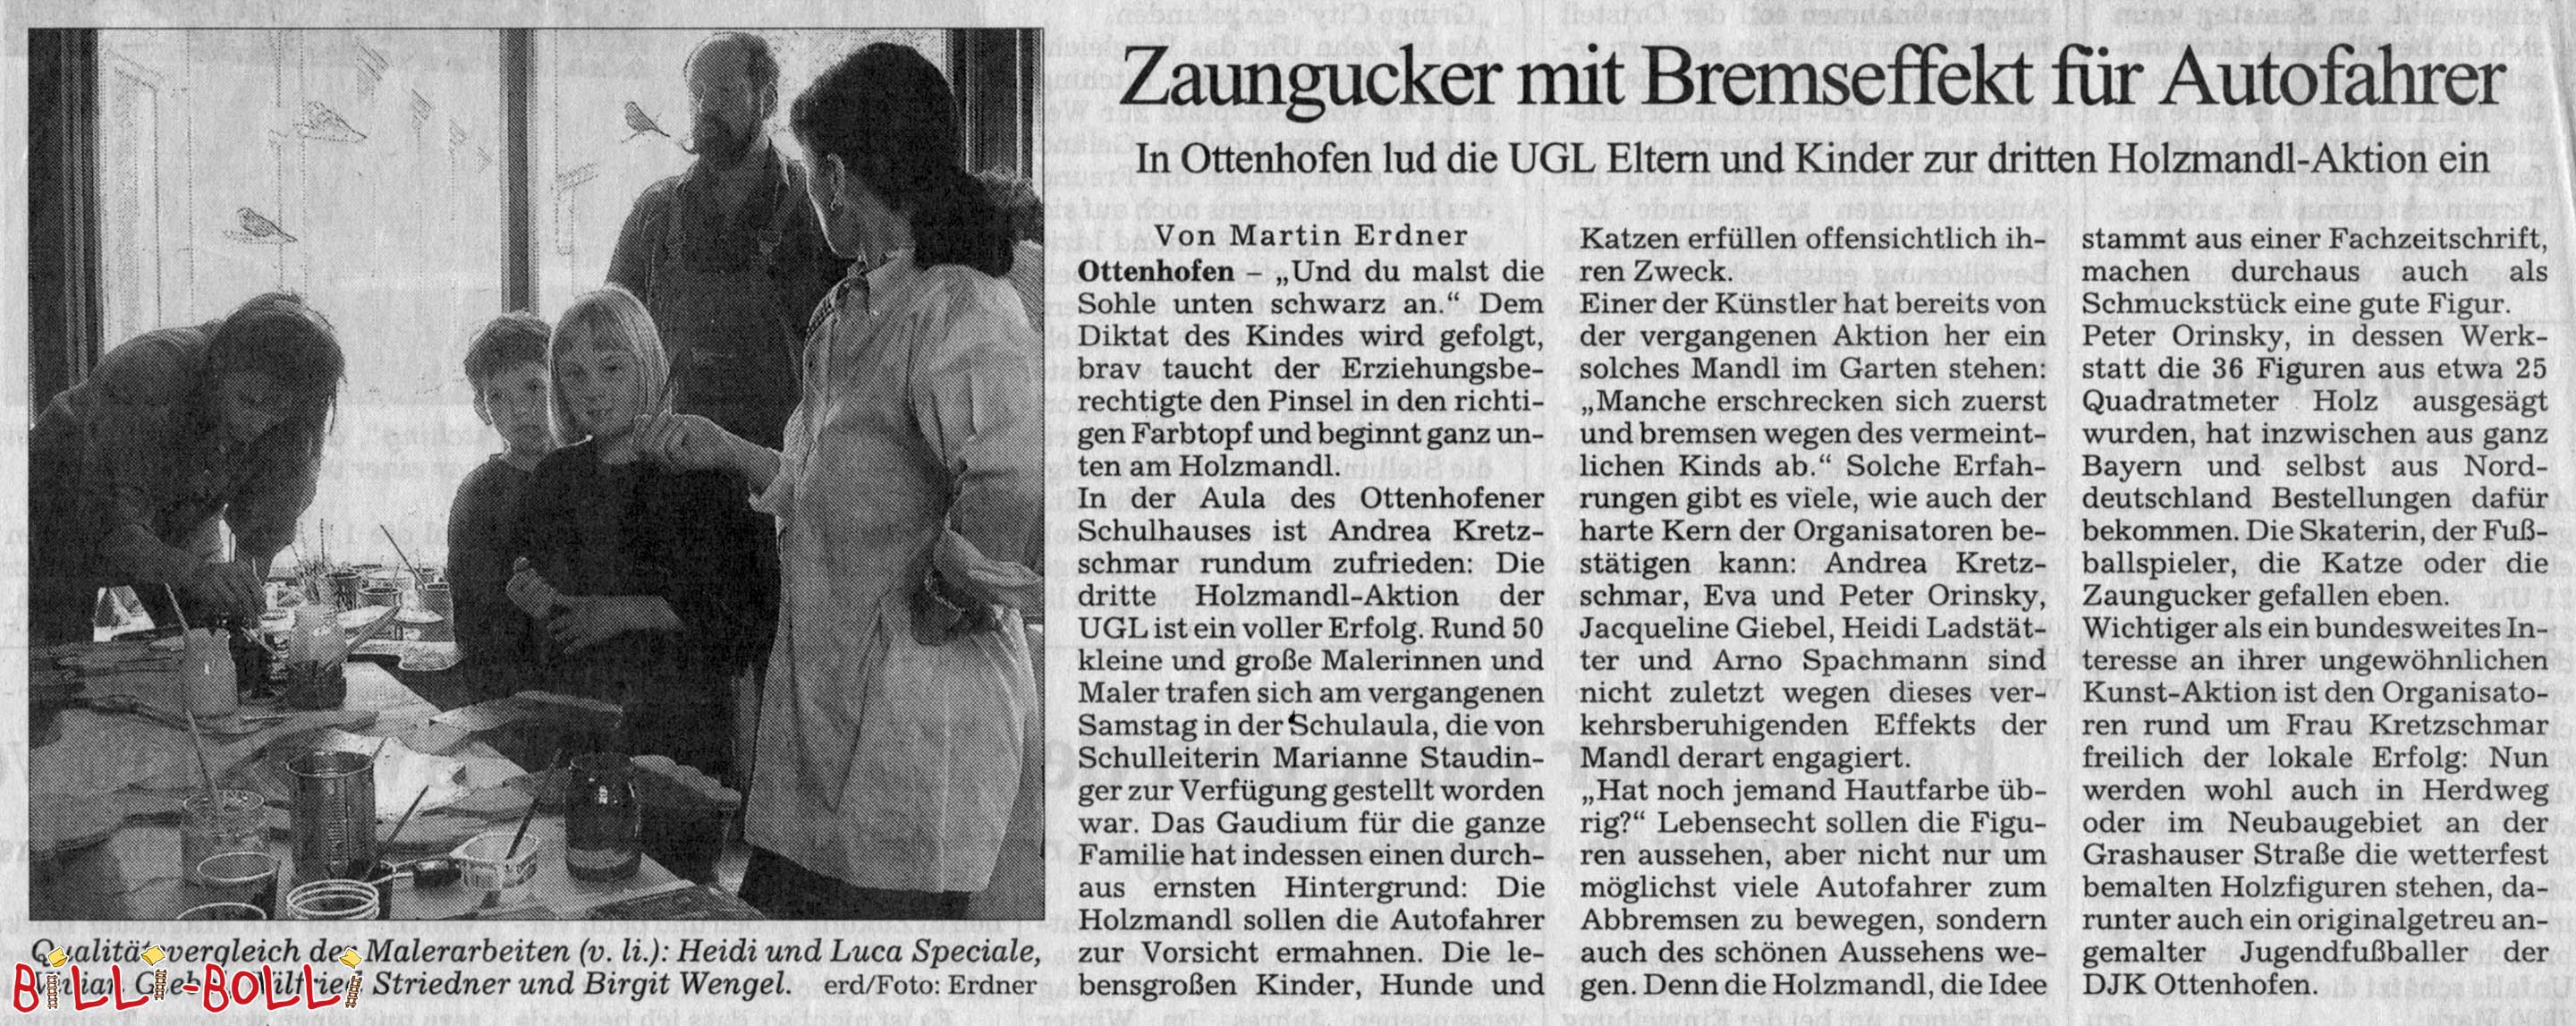
Article in the German newspaper “Münchner Merkur”
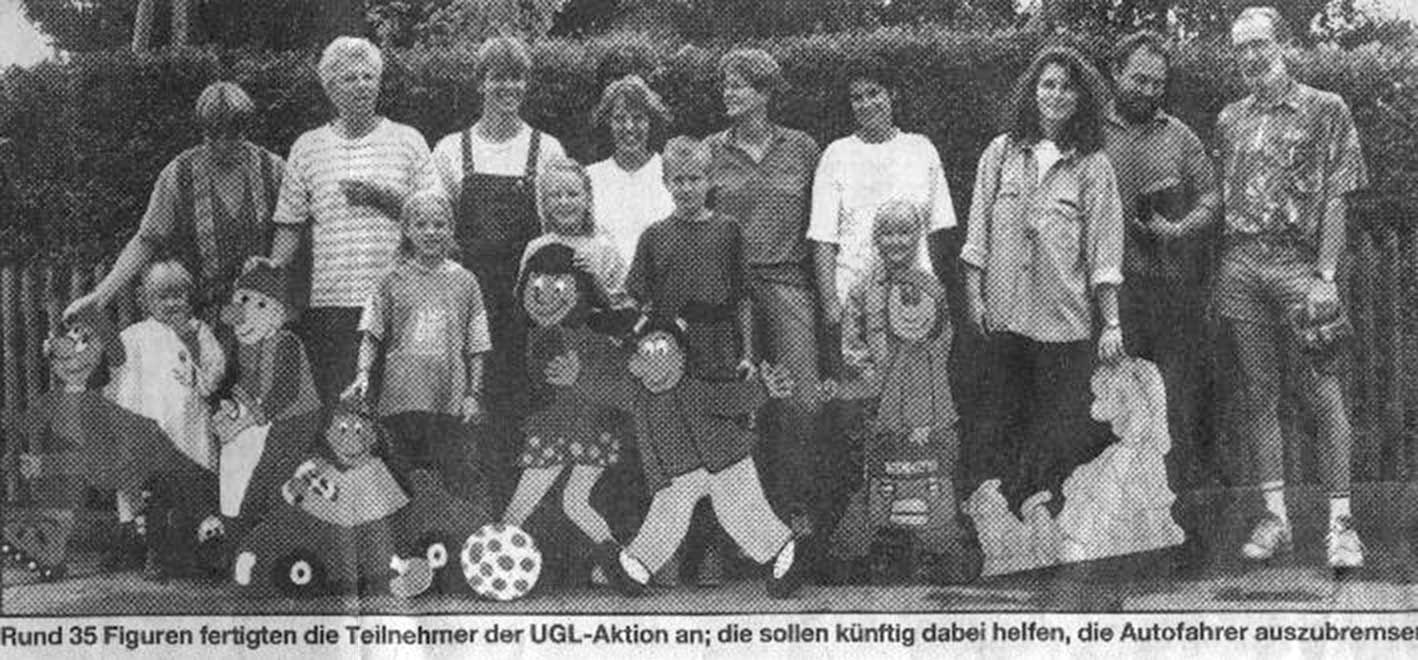
Ottenhofen – Seven Edding marker pens, 9.6 square metre paper, one rubber, four pad saws, 63 paintbrushes, 15 square metre coniferous plywood panel, 10.5 litre acrylic paint: This is how much material all the participants of the holiday event “Traffic Calming from kids for kids” needed to craft the near life-sized wood kids. The multicoloured figures will decorate garden fences, trees, fuse boxes and dividing walls to thwart drivers passing through in an innovative and creative way…
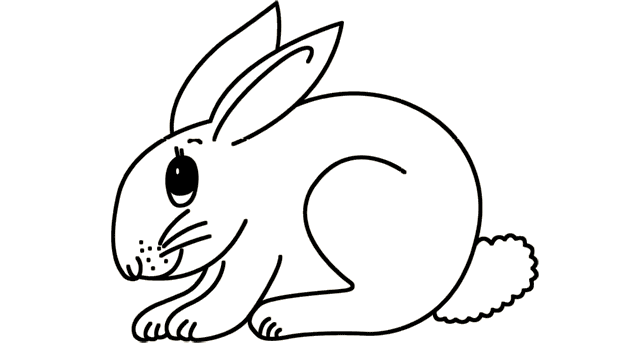
Step 1: Download templates
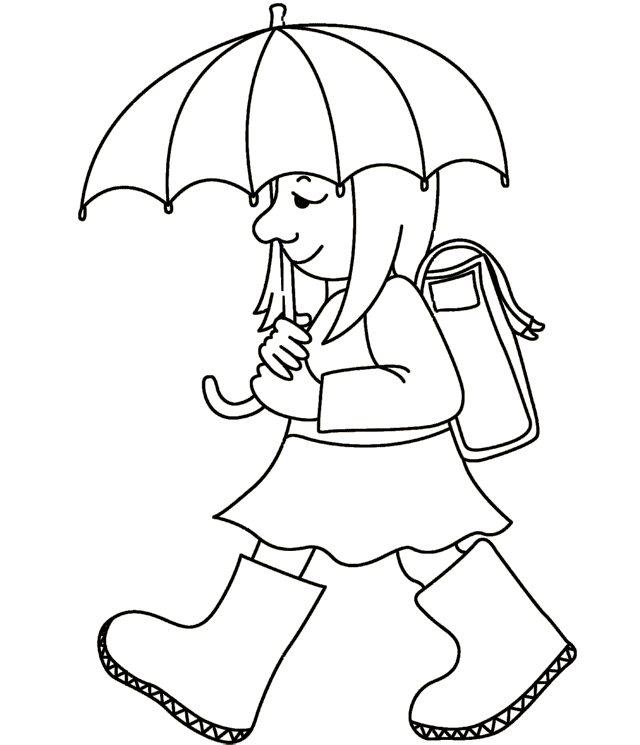
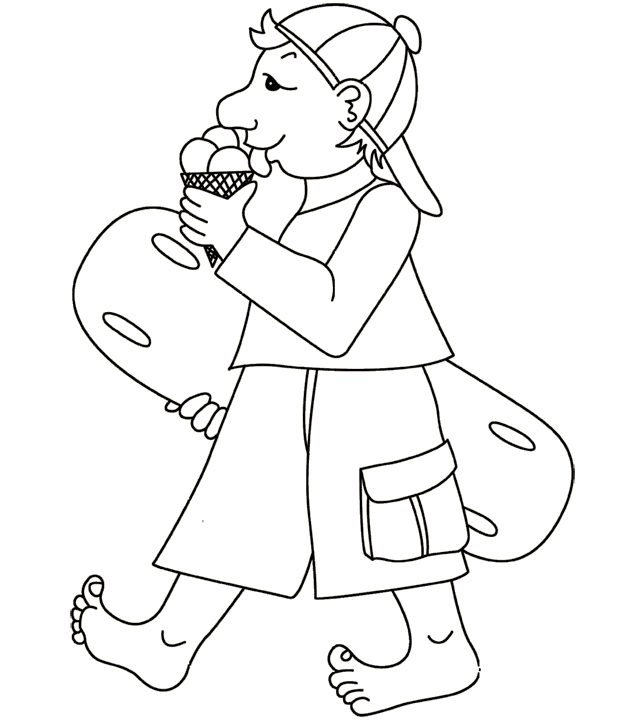
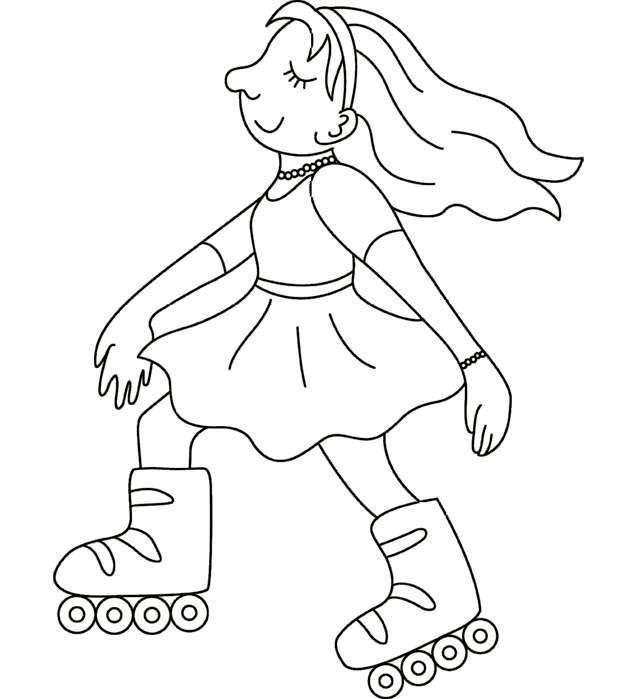
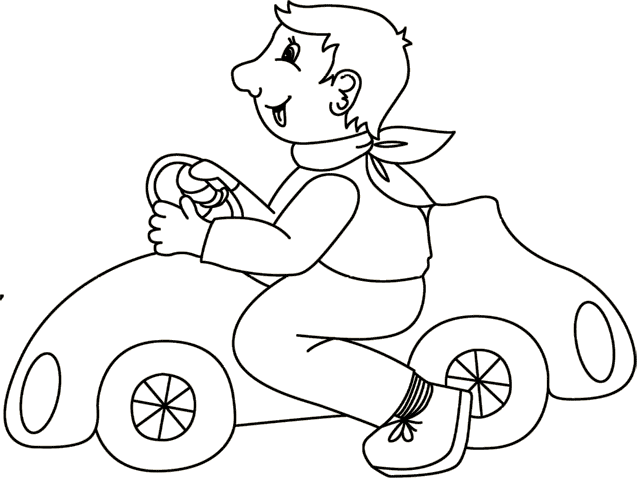
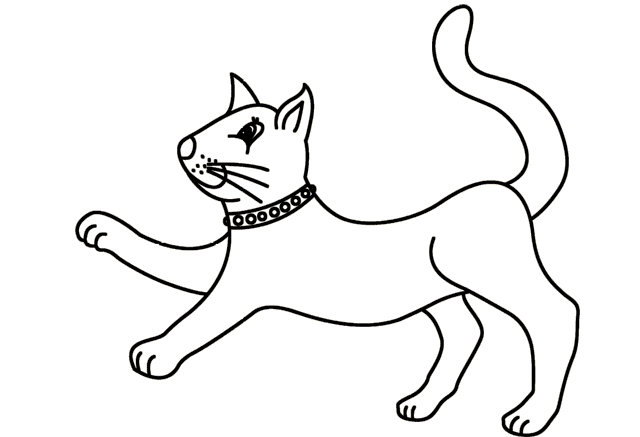
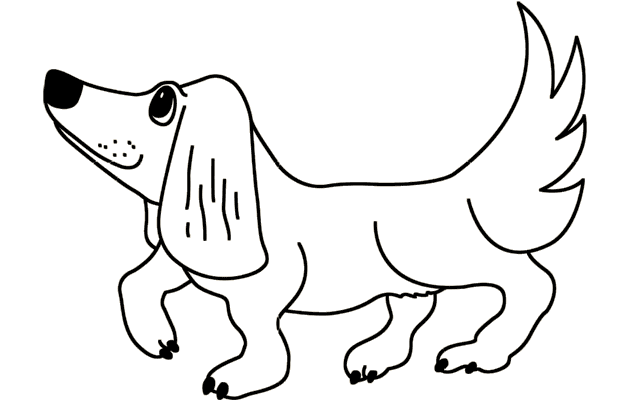
Choose the characters you would like to craft as wooden figures and download the respective PDF files.
We recommend that you already decide on where you would like to install the figure (please find more advice on this in the last step, below). Would you like the figure to look to the left or to the right? PDF files are available for both versions. If you want to install the figure where both sides will be visible and have to be coloured in, then you need to download both character templates.


Illustration: Eva Orinsky
Step 2: Tools and materials
You will need the following resources to craft the figures:
pad saw
if applicable, drill with wood drill (for figures with inlying cutouts)
sandpaper (random orbital sander, if needed)
if applicable, wood putty and spatula
pencil and a rubber
if applicable, carbon paper
waterproof, black marker with big, round tip
transparent adhesive strips or glue stick
wood preservative with a matt finish (e.g. Aqua Clou L11 wood varnish)
paintbrushes in various sizes
if applicable, roller
various acrylic paints (waterproof)
Please use low-solvent (or water-based) paints, if possible. We recommend to start off with cyan, magenta, yellow, black and white. You will be amazed by how many colours you can actually mix with them. For particularly light and vibrant colours, we suggest purchasing some ready mixed paints in addition. Ochre is ideal for skin colour, just add some white.material for installing the figure (see step “Installation”)
Step 3: Wooden panel material
For the wooden panel, use waterproof, glued plywood. We recommend maritime pine (10 – 12 mm strength), as it is very weather-resistant (available at timber trader or hardware stores). First, saw the panel in a rectangular shape according to the overall dimension of the selected character, add a few centimetres as margin (see Overview above) or alternatively, you can purchase the plywood already cut for you to the required size.
Grind the edges slightly to reduce the injury risk of sharp, wooden edges during the following steps. Tip: take a block of wood wrapped in sandpaper.
Then thoroughly grind both surface areas of the panel (with a random orbital sander, if available) until they are smooth.
.jpg)
.jpg)
.jpg)
Step 4: Transfer contours
If you only want to draw the character on one side of the figure, be sure to check which side of the wooden panel is more visually appealing.
There are two ways to transfer the outlines:
Create a large template for tracing (easier method, and depending on age, also possible with children)
Print all PDF pages on A4 sized paper. Please make sure that “no page scaling” or “actual size” is selected in the print settings.
To create the horizontal paper rows, cut off the left edge of each sheet along the left line and put it on top of the previous sheet of the same row so that it overlaps the right edge and the outlines continue seamlessly. Now glue the sheets together using a glue stick or sticky tape.
Then assemble all glued paper rows to create the full outline of the character. By cutting off the top edge of each row (except for the top row), along the top line, you can glue the row together with the overlying row.
Place the large template on the chosen side of the wooden panel and attach it on one side with sticky tape.
Now place the carbon paper between the template and the wooden panel (if you have enough carbon paper, fill the whole area with it).
Trace the inner and outer contours of the figure onto the wooden panel, it is easiest to trace one grid at a time.
Remove the template carefully from the panel, especially if you would like to reuse the template.
Alternative: Grid method (for professionals)
Print only the first page of the template (the cover sheet with a small preview of the full figure).
Transfer the small grid from the template (horizontal and vertical lines) to the wooden panel as a large grid (note the dimensions of the figure). Please be aware that depending on the template, not all grid squares are of equal size.
Use the small preview to draw by eye and freehand, each inner and outer contour to gradually create the larger version on the panel. The vertical and horizontal grid lines act as a reference.
If you want, you can add a few details with your pencil, e.g. adjust the ball to the current soccer World Cup design ;-)
Once you finished the outlines, emphasise them with your black marker. In this step you can amend small inaccuracies and add potentially forgotten lines.
.jpg)
.jpg)
.jpg)
.jpg)
.jpg)
.jpg)
.jpg)
.jpg)
.jpg)
.jpg)
.jpg)
Step 5: Cutting out the figure
Make sure to provide sufficient safety in your workspace and to use a suitable surface (e.g. a sawhorse).
Saw the figure by successively cutting off small sections, along the outer contours. Professionals cut from the back side of the panel (see photos) to prevent the splintering from appearing on the good side. For the less experienced it is easier to saw with the good side facing up.
Some of the characters have cutouts (e.g. the small triangle between arm and shirt of character “Flo”). Drill a few holes until there is enough space for the saw blade to fit).
.jpg)
.jpg)
.jpg)
.jpg)
.jpg)
.jpg)
Step 6: Sanding and cleaning up
Sand by hand the smaller gaps and cracks on the surface areas or on the edges of the wood, larger wood splits can be filled with wood putty (let it dry and regrind as needed). This will increase the overall weather resistance.
.jpg)
.jpg)
.jpg)
Step 7: Contour on back (if desired)
If you intend to install the figure where a character motif is meant to be seen from both sides, print out the second version of the template (left or right) and transfer the inner contours, see step 4.
.jpg)
.jpg)
.jpg)
Step 8: Priming
We would recommend treating the wood figure with wood preservative before painting, this will increase the weather resistance. The surface areas can be painted with a brush or a roller. It is particularly important to paint the edges and the gaps, please use a paintbrush for that.
Let the wood dry.
.jpg)
.jpg)
.jpg)
Step 9: Colouring in
Children can do the colouring in.
Before you begin with the colouring, ensure that the wooden figure is dust-free. Cover the surface underneath the figure with newspaper sheets.
Now you can start with the skin-coloured areas. Avoid mixing a skin tone that is too pink – a mixture of ochre and white offers a more authentic result. Colour in the skin-coloured areas.
Continue colouring the other areas with the colours of your choice. To increase the long-distance visibility of the figures, we recommend using bright and vibrant colours.
When adjacent areas are painted in the same colour, please make sure that the contours still shine through after colouring (the same applies to inner contours within an area). You will go over the contours again later.
Eyes have black pupils and most characters have a small area around them for the iris, which you can fill with other colours (e.g. blue, brown, green). Then colour the white area of the eye. Last, create an eye sparkle by painting a small white highlight in the pupil for a realistic touch!
Generously colour in any remaining scissures and dents.
Allow the paint to dry.
If the colour coat is too translucent in places, add another layer of colour.
After letting this side of the figure dry, it is time to colour the back. If you only transferred the contours to the front side of the figure and you do not want the character to be visible on the back, then simply colour the back in a plain, monochrome colour or with any colour remnants you may have left. This way you increase the weather resistance.
Let the back dry as well.
.jpg)
.jpg)
.jpg)
.jpg)
.jpg)
.jpg)
.jpg)
.jpg)
Step 10: Emphasise contours
Take a black marker pen or a thin paintbrush with black acrylic paint and go over the inner contours again.
To emphasise the outline, go around the outer contours of the figure with your pen or paintbrush and paint a slim black line along the edge.
If you used acrylic paint for the contours, let the figure dry again.
In case you also painted the character on the back of the figure, go over the inner contours on that side as well.
Let the figure dry.
.jpg)
.jpg)
.jpg)
.jpg)
.jpg)
.jpg)
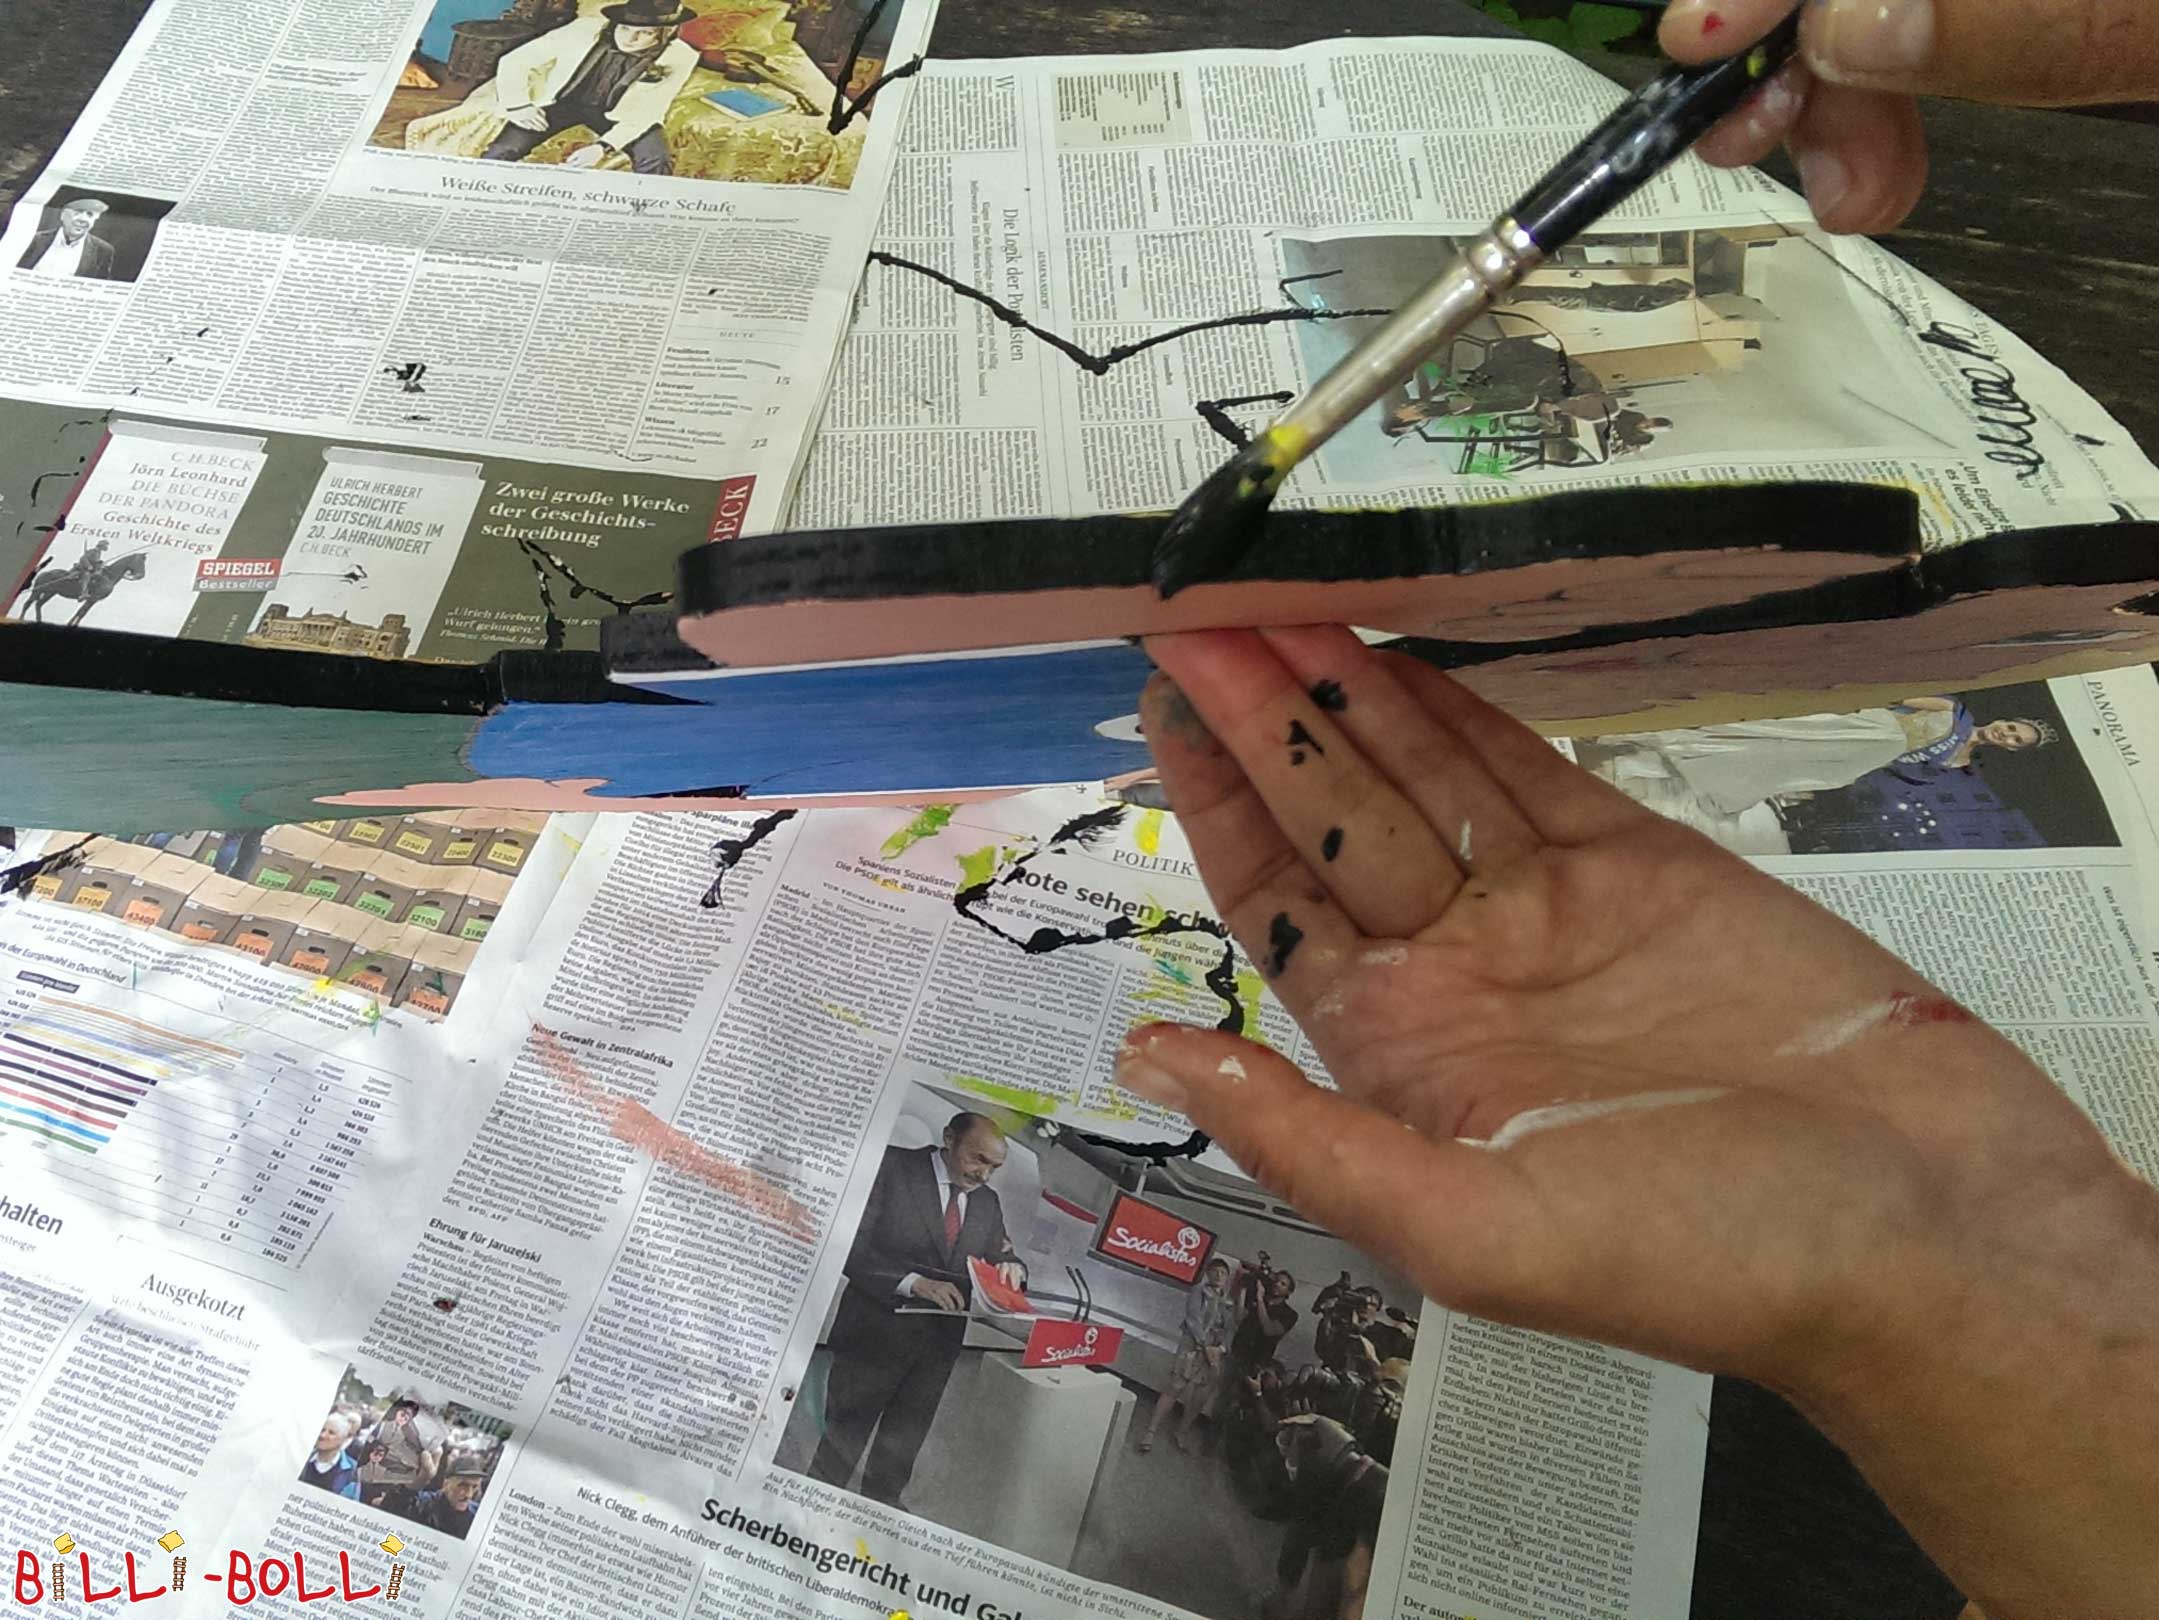
Step 11: Sealing the edges
Colour the edges with black paint, i.e. the slim side of the wooden figures. To prevent the ingress of water the edges must be covered particularly well with paint because they need to withstand rainwater more than the other parts of the figure. A generous layer of colour will prevent water from penetrating the wood, which could freeze in the winter, eventually blasting off wood layers.
Let the figure dry completely.
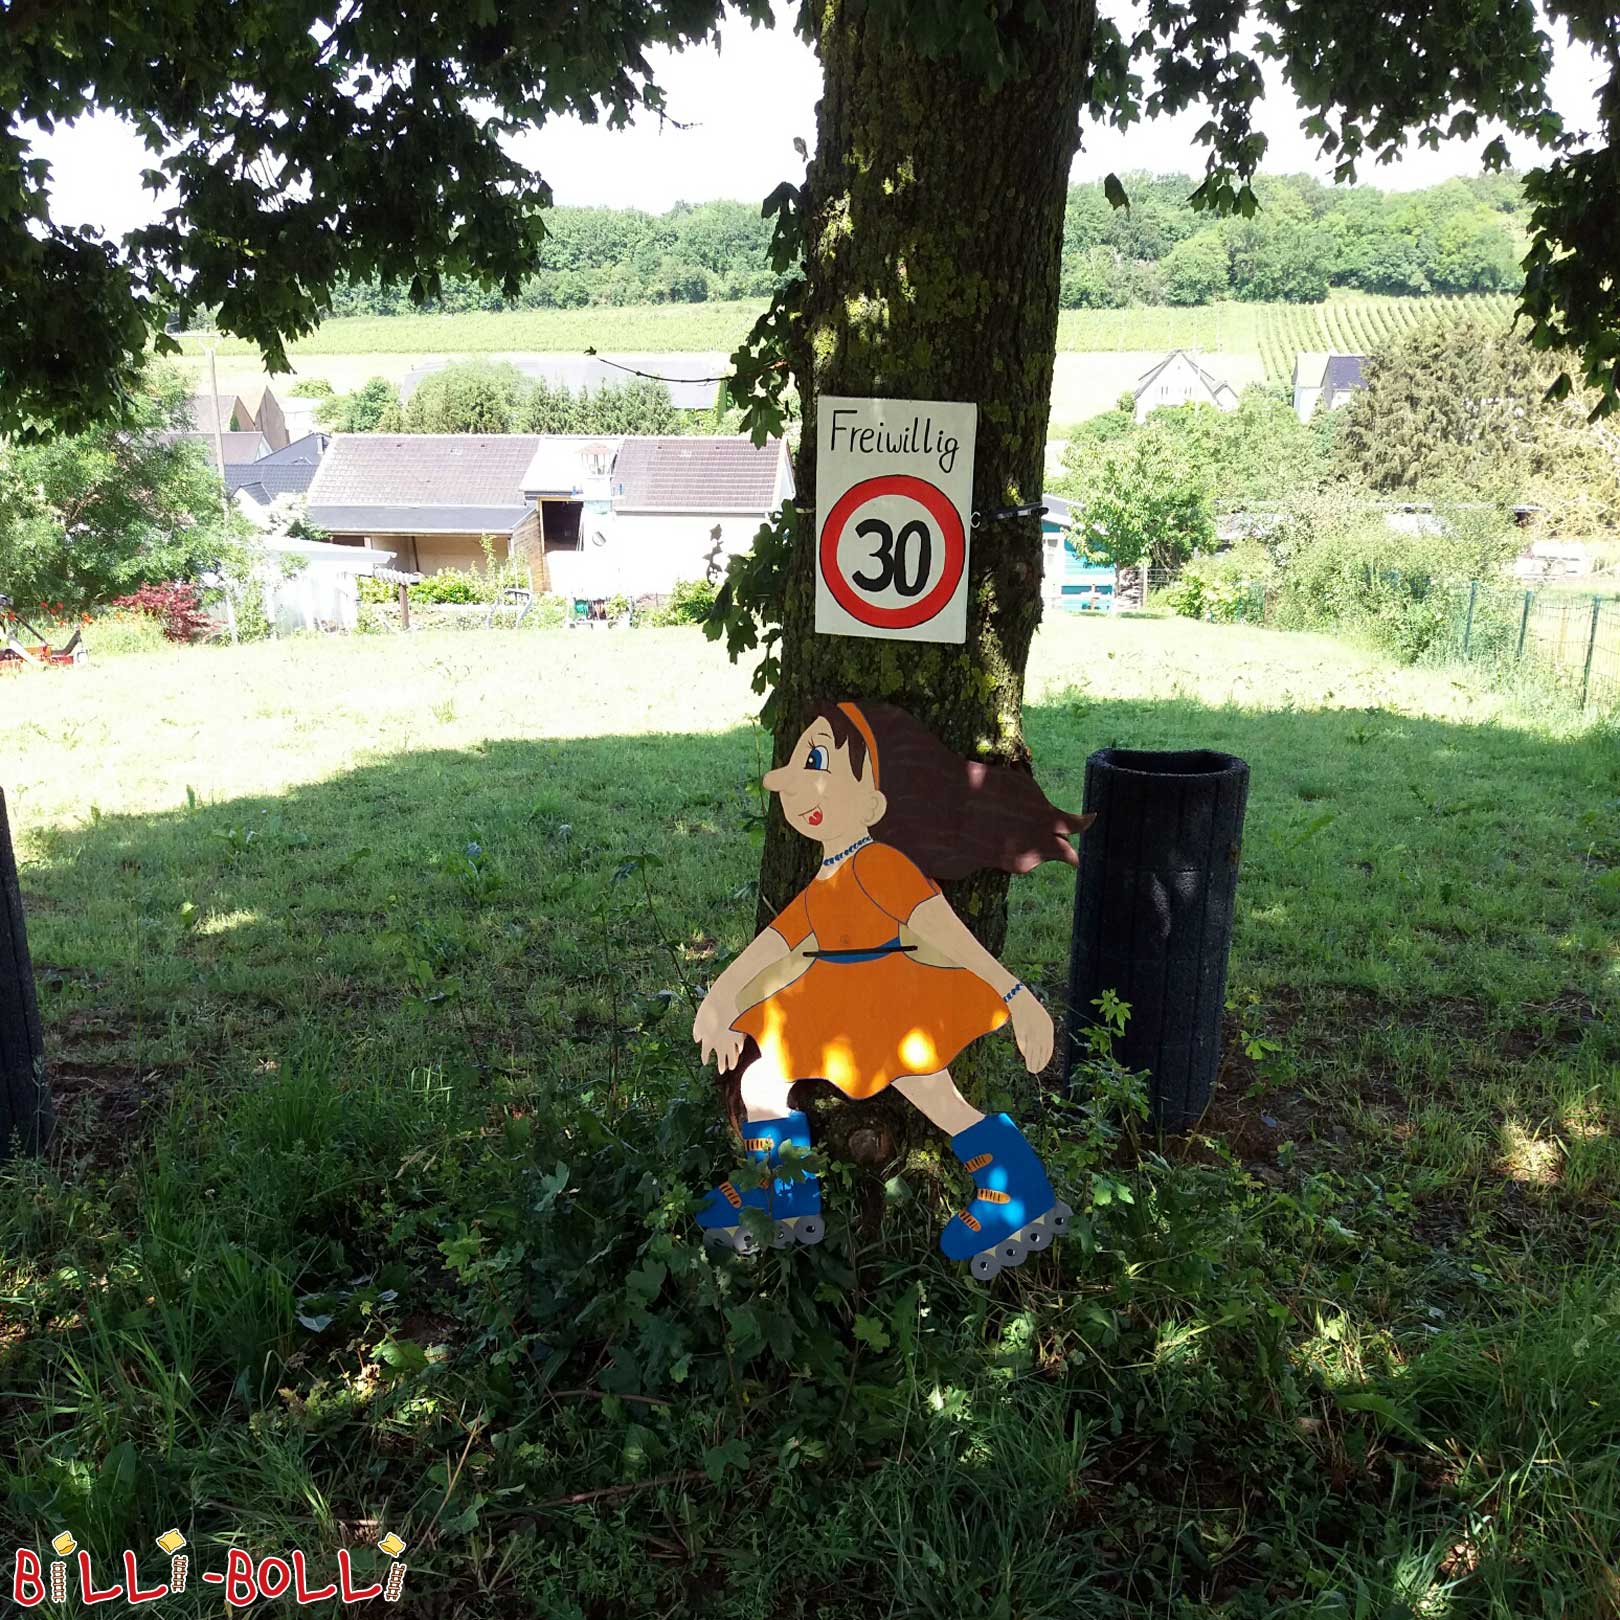
Step 12: Installation
Choose a suitable location for the figure and consider whether the character is to be seen from both sides or just one side. If you want to caution drivers to be more careful, areas by the side of the road are the most effective. Do not install the figure too high, but at the same height as children, so that they appear realistic at first glance from a distance, causing the driver to slow down. Please beware that the figures do not cause obstruction or danger to traffic. If you want to place the figure on public property, you need to get the permission from the community first.
Suitable objects for installation include:
garden fences
house or garage walls
trees
a signpost
a pole to be dug in or heel into soil
Make sure that the figure is securely installed so that it cannot come off on its own and may also withstand a storm.
Depending on the chosen location, there are various fastening methods available, e.g.
screw
bind
glue
.jpg)
.jpg)
.jpg)
.jpg)
Done!
We hope that you will have a lot of fun crafting and installing your figures! We would love to see some photos of your colourful new wooden friends.
Photos and feedback

First of all, I would like to thank you very much for the free templates to make the figures for traffic calming. The instruction is perfect and very easy to follow. I made 2 figures mirror-inverted, which was a lot of fun. And for the winter season, I made fleece hats. Everyone admires the characters. We positioned them at the access road to our industrial company with an adjacent residential building. A photo is attached.
Once again, thank you!
Regards, Regina Oswald