
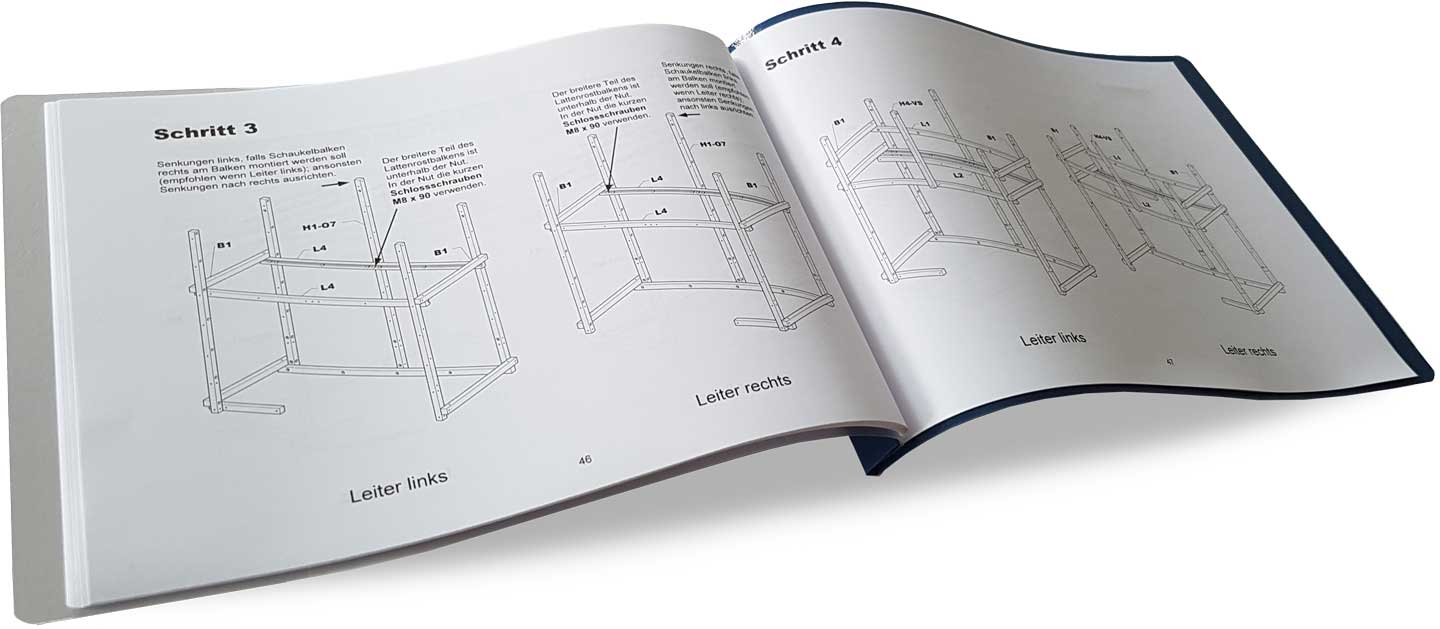
Assembling your new kids’ furniture is easy. You will receive an easy-to-understand and detailed step-by-step manual we put together based on your individual order. This way you will mount your furniture within a few hours.
Assembling options
All kids’ beds can be assembled mirror-inverted as well (with the exception of some special adjustments).
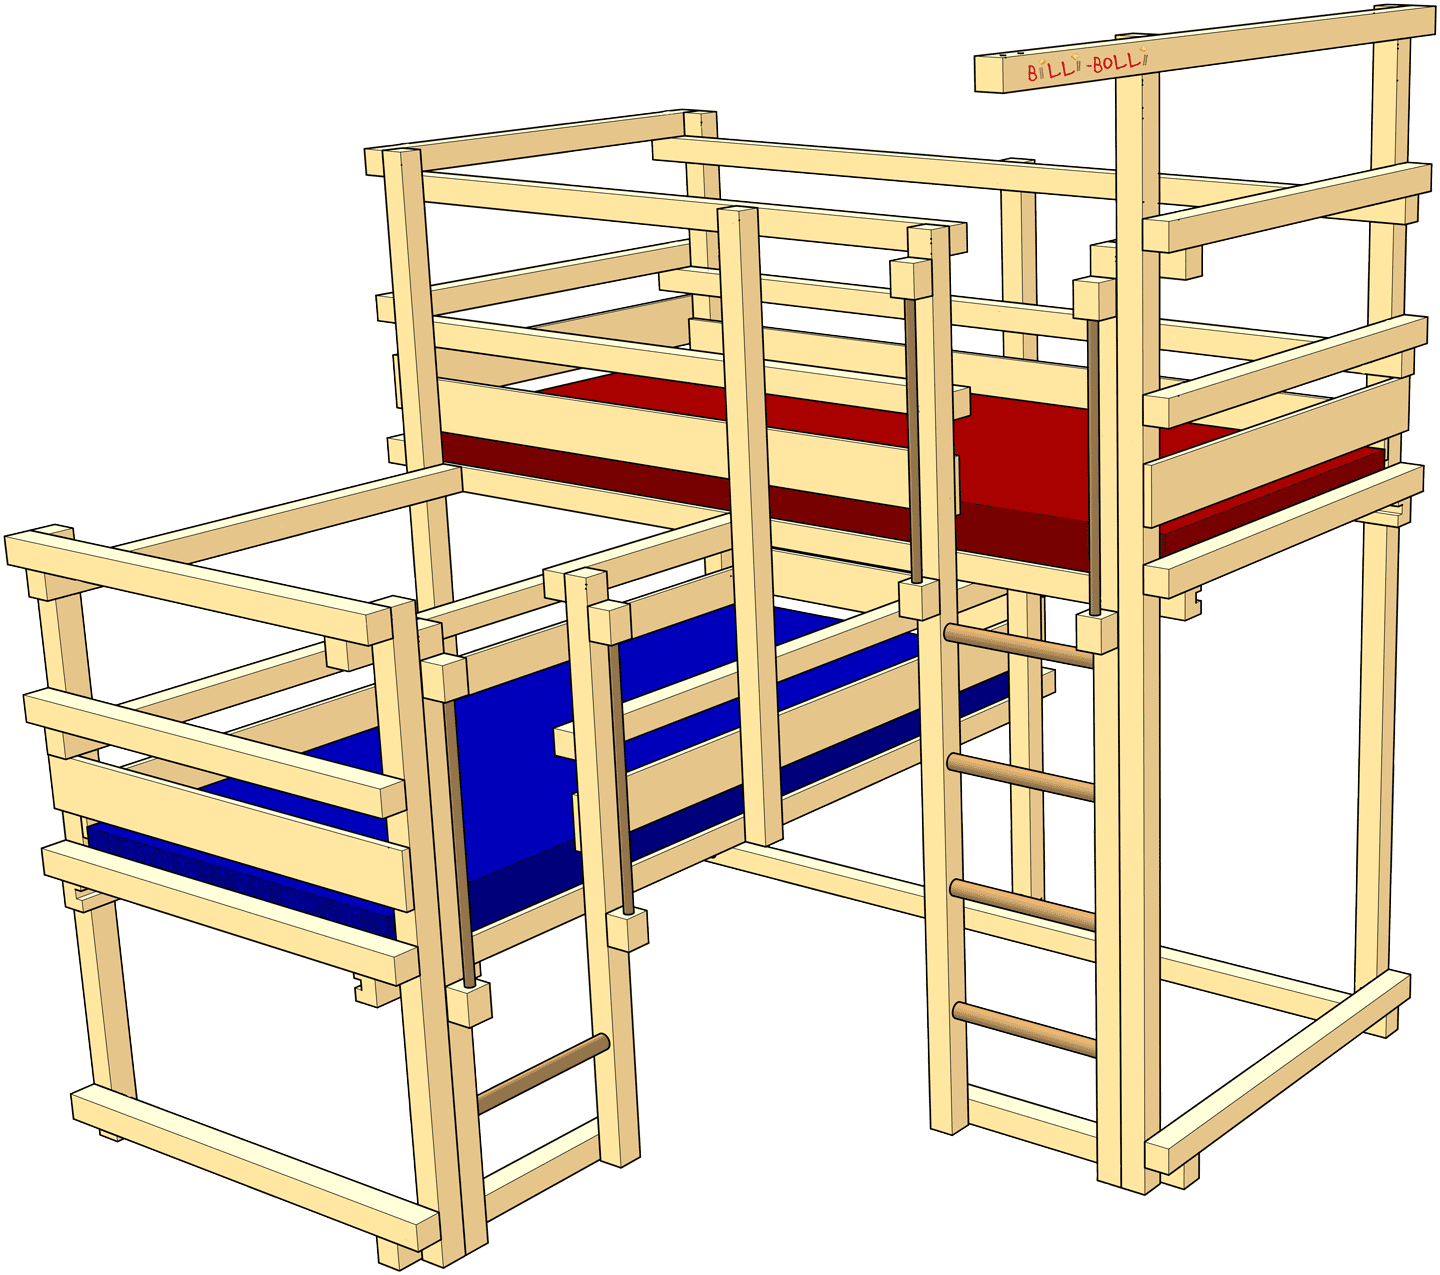
Different positions are possible for the ladder, see Ladder and Slide.
The sleeping level of many of our bed models can be mounted at different heights.
For more available variants and options such as Pitched Roof Step, Corner Swing Beam or Play Floor instead of Slatted Bed Base visit Customising Options.
Kids’ beds with two sleeping levels can be split into two separate beds with a few extra beams.
For subsequent conversion into other bed types, expansion sets are available for all kids’ beds.
Required tools
The following tools are needed to assemble our children’s furniture:


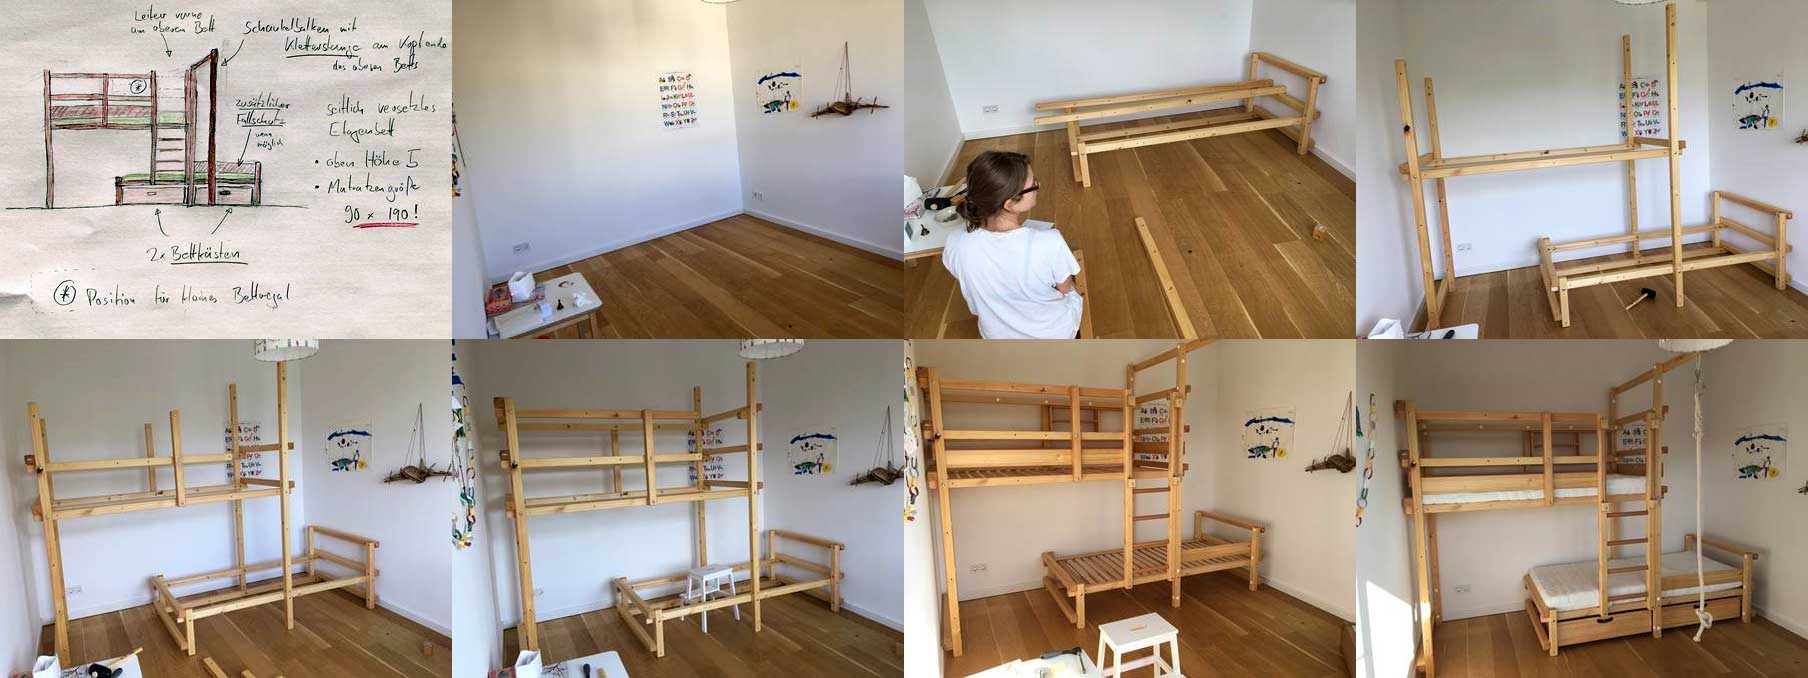
From the first sketch (which artistic customers send us to share their ideas and requests) to the finished bed: We received these pictures of the assembly from a nice family.
In the section Videos you will find all the videos our wonderful customers shared with us of the assembling and conversion of our beds.